Cheerleading jumps represent some of the most visually impressive and technically challenging skills in cheer athletics. From the explosive height of a perfect toe touch to the precise form of a hurdler, mastering these fundamental movements separates recreational cheerleaders from competitive athletes who elevate their teams to championship levels.
Whether you’re a coach building a training program, an athlete working to make varsity, or a parent supporting your cheerleader’s development, understanding proper jump technique makes the difference between frustrating plateaus and breakthrough progress. Each jump type—toe touches, hurdlers, pikes, and herkies—requires specific strength, flexibility, and technical execution that develops through systematic training and deliberate practice.
This comprehensive guide breaks down every major cheerleading jump with detailed technique analysis, common mistakes to avoid, progression strategies for skill development, and conditioning approaches that build the explosive power and flexibility these skills demand.
Effective cheerleading jump training extends beyond simply practicing jumps repeatedly. The most successful programs build foundational strength and flexibility, break down technical components, and progress systematically through skill levels while celebrating achievements that motivate continued improvement.

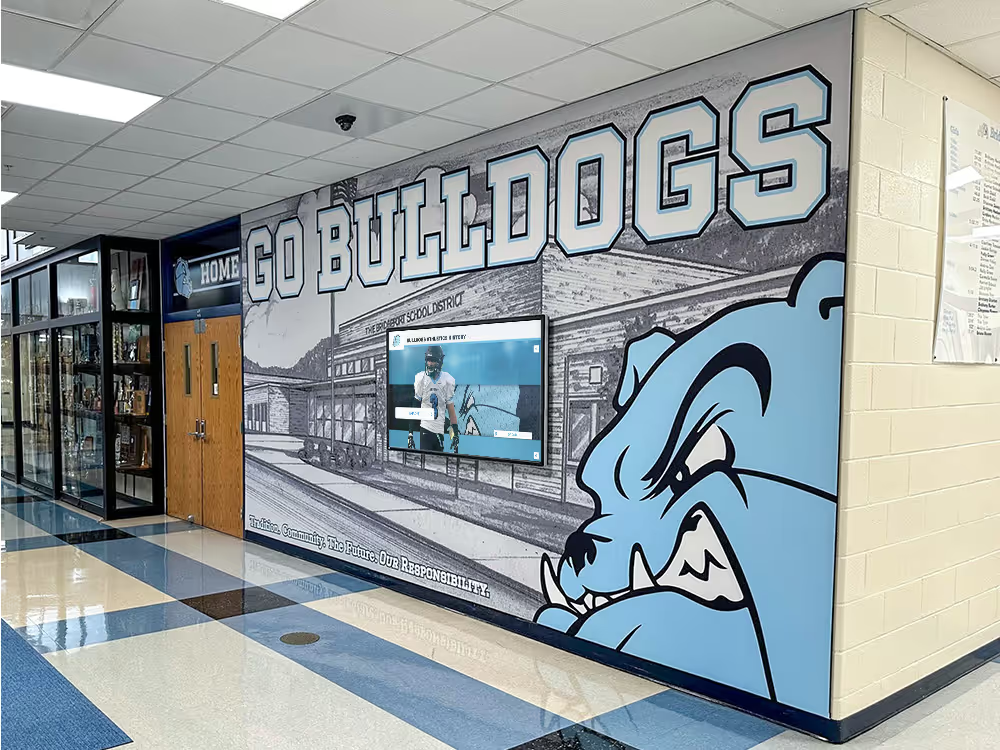
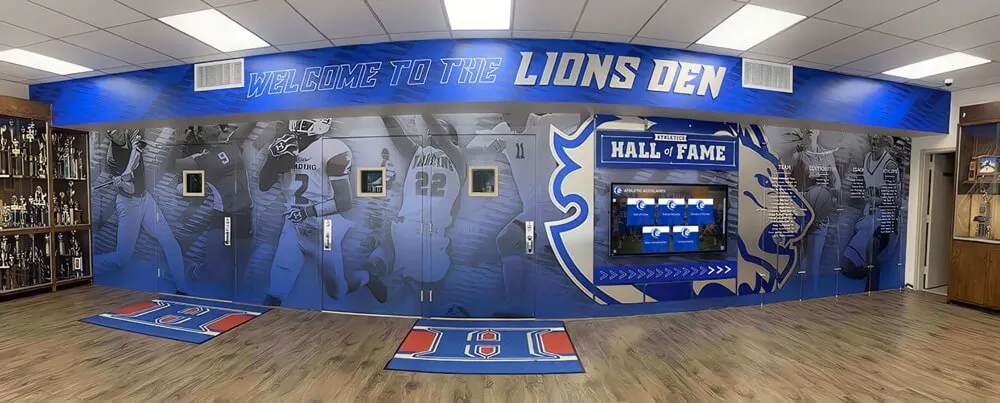
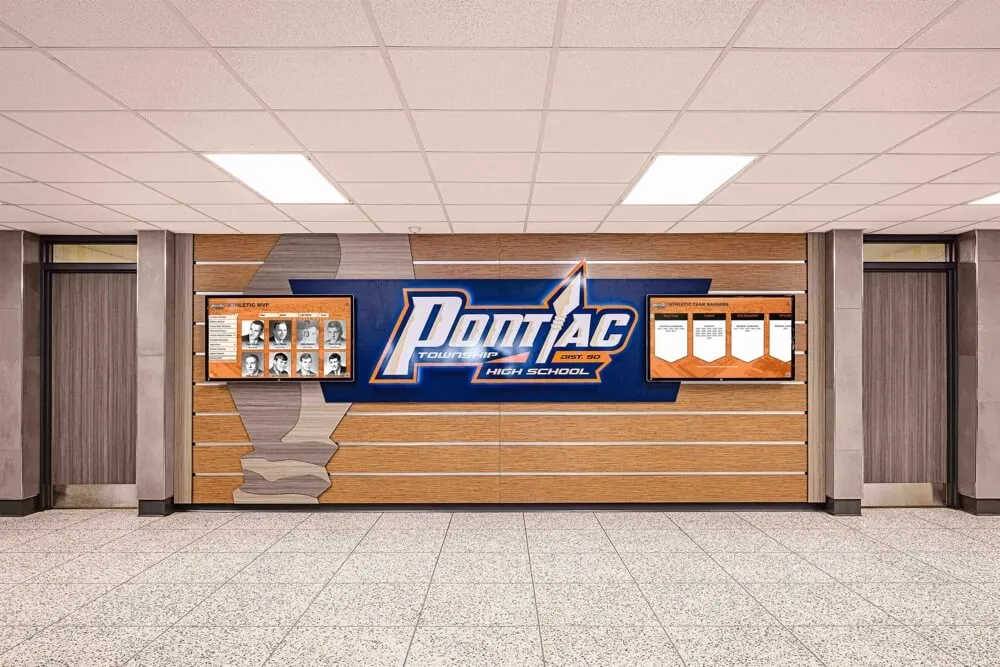
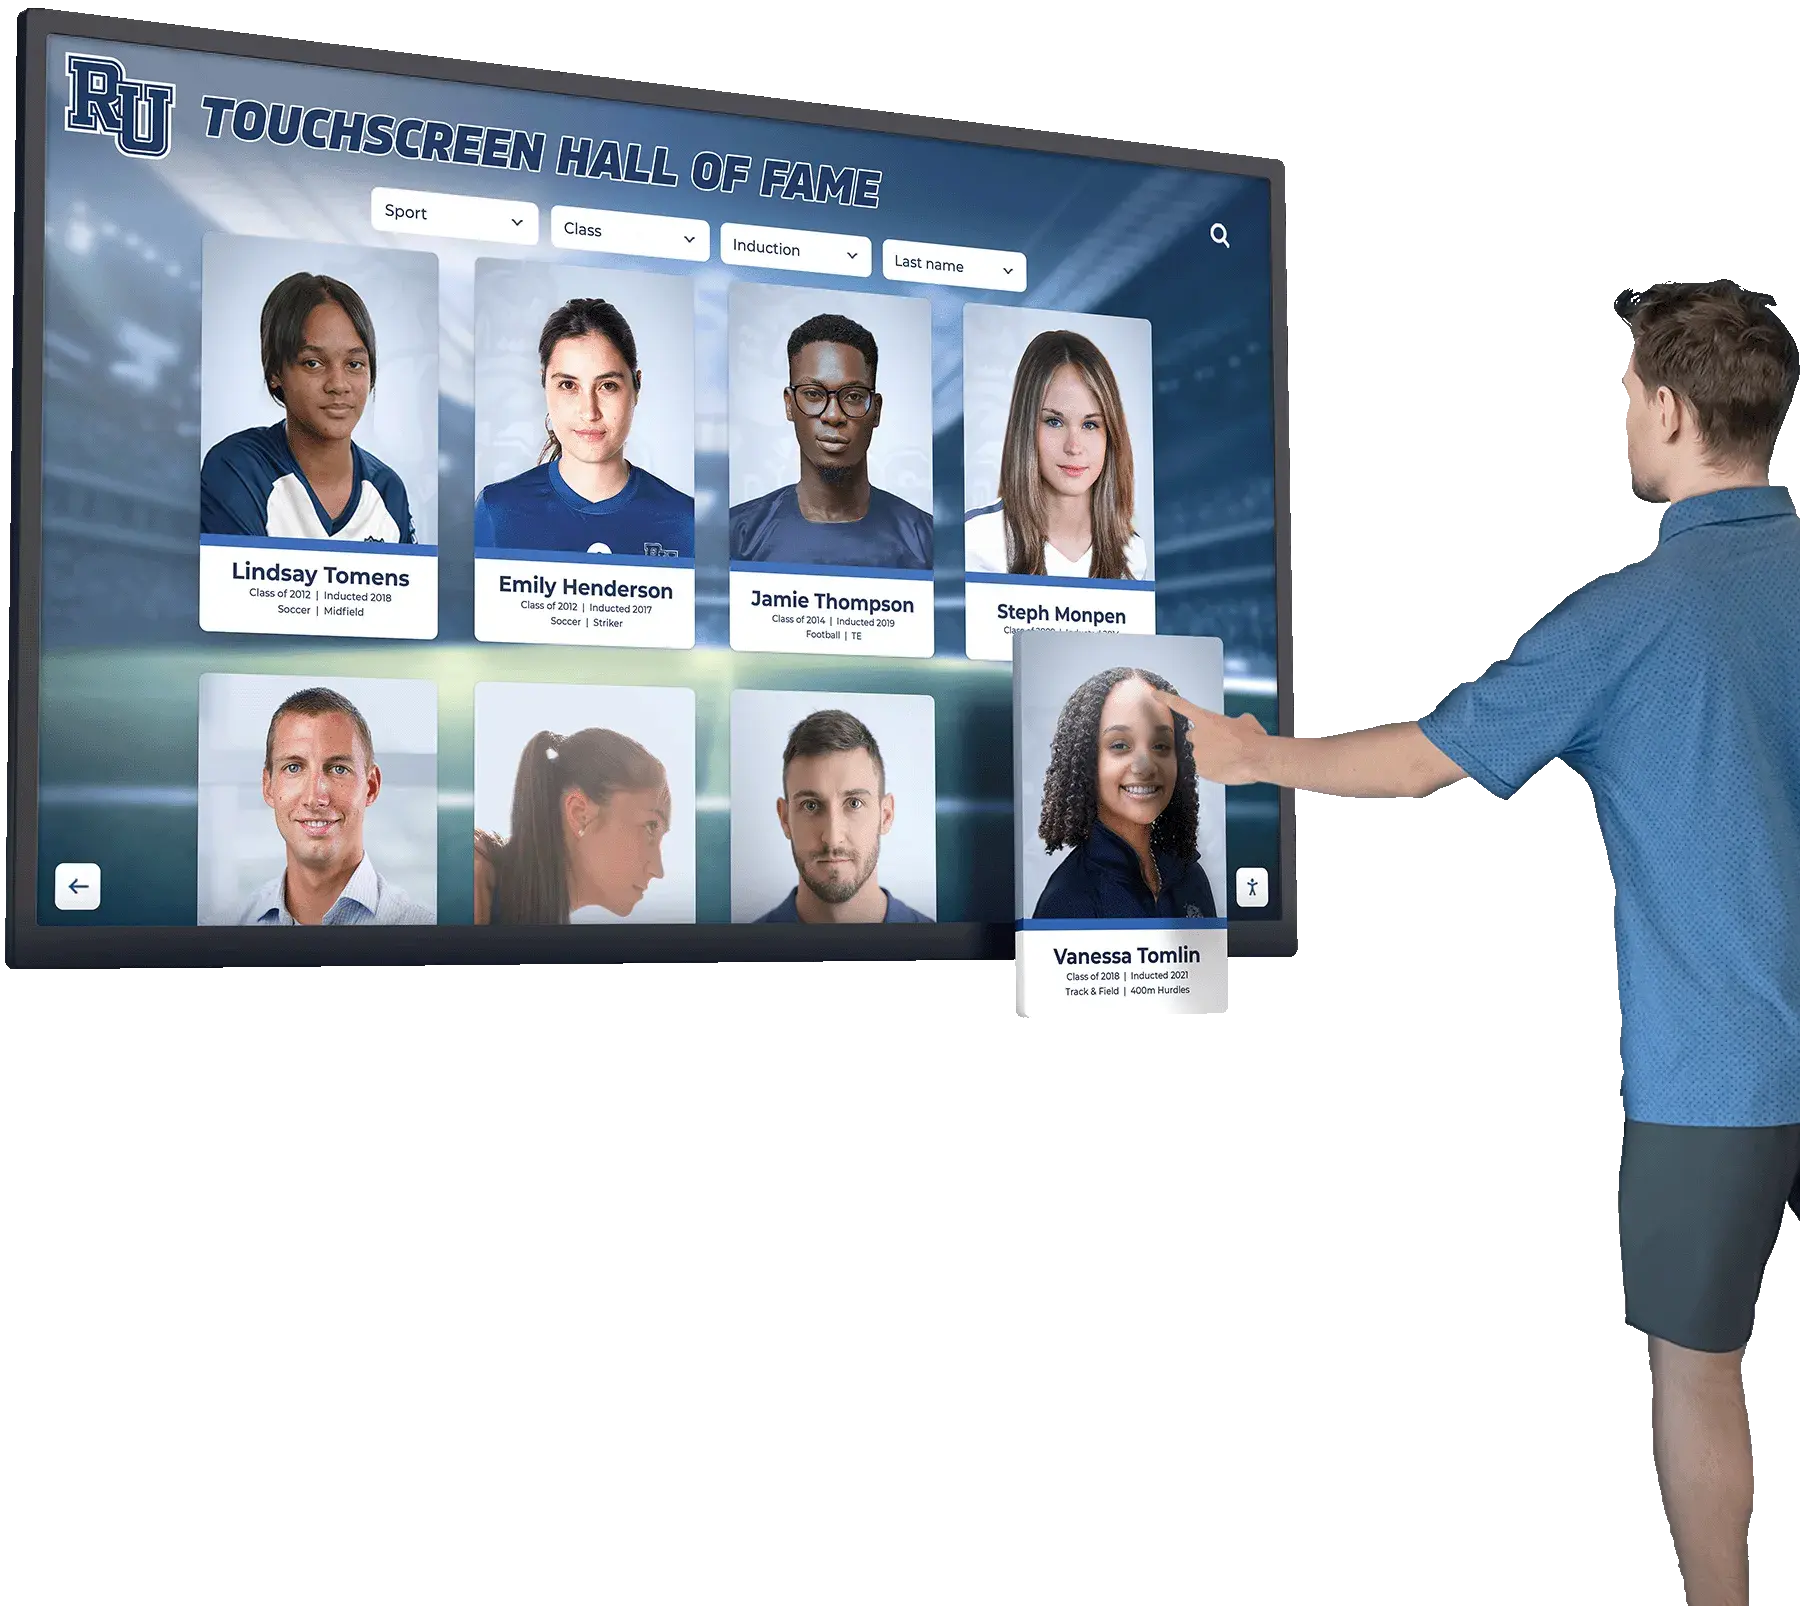
Modern schools celebrate athletic achievements across all sports, including competitive cheerleading programs
Understanding Cheerleading Jump Fundamentals
Before diving into specific jump types, mastering universal fundamentals creates the foundation for success across all cheerleading jumps.
The Universal Jump Approach
Every cheerleading jump follows the same basic sequence:
The Prep Position
- Feet together with weight on balls of feet
- Arms in high V or specific approach position
- Chest up and shoulders back
- Core engaged and ready to explode
- Eyes focused forward at a fixed point
The Approach Swing
- Arms swing down, back, and up in a coordinated motion
- Typically follows a “down-back-up” pattern or “clasp-high V” variation
- Generates upward momentum for maximum height
- Timing must synchronize with leg drive
- Upper body remains controlled throughout swing
The Jump Execution
- Explosive push from balls of feet
- Hips drive forward and upward
- Specific leg position achieved at peak height
- Arms hit designated position crisply
- Head and chest remain lifted
The Landing
- Controlled descent to balls of feet
- Knees bend to absorb impact
- Feet land together in original prep position
- Arms return to prep or designated landing position
- Maintain balance and control without steps
Schools that recognize athletic excellence across diverse programs—from traditional sports to competitive cheer—create cultures where all student-athletes feel valued. Explore how digital trophy cases modernize athletic recognition for comprehensive sports programs.
Physical Requirements for Jump Success
Cheerleading jumps demand specific physical capabilities:
Strength Components
- Quadriceps strength for explosive vertical power
- Core stability for body control during flight
- Hip flexor strength for rapid leg lift
- Ankle and calf strength for takeoff power
- Upper back and shoulder strength for arm positions
Flexibility Requirements
- Hip flexor flexibility for leg height
- Hamstring flexibility for pike and toe touch positions
- Hip socket mobility for proper leg positioning
- Lower back flexibility for upright torso maintenance
- Shoulder flexibility for overhead arm positions

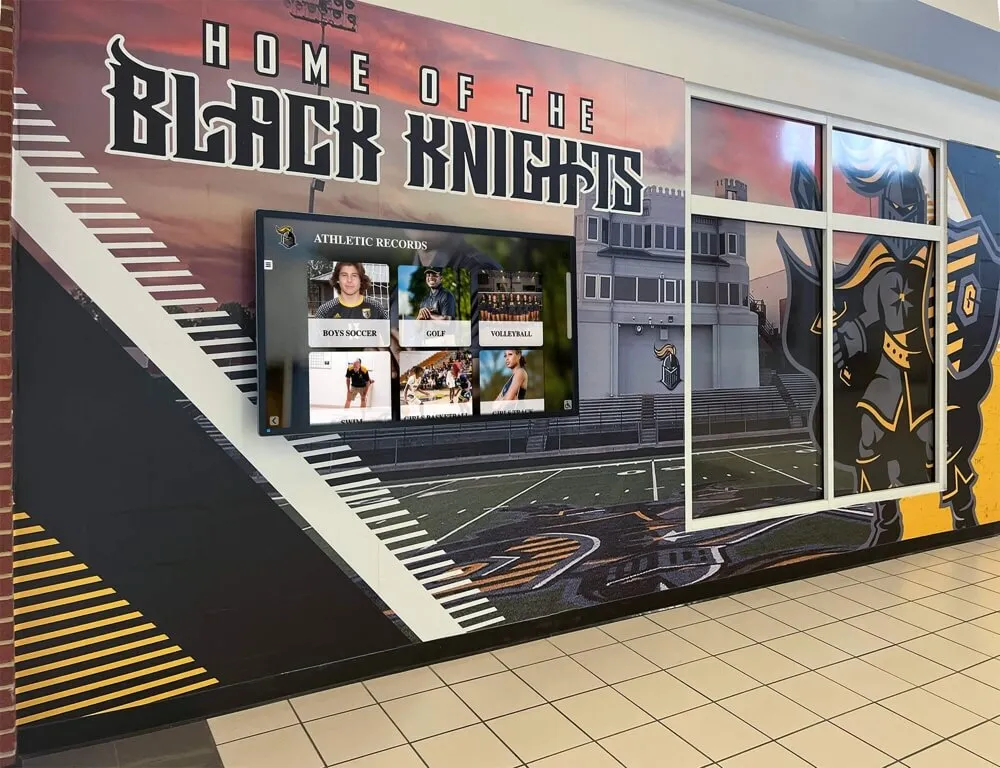
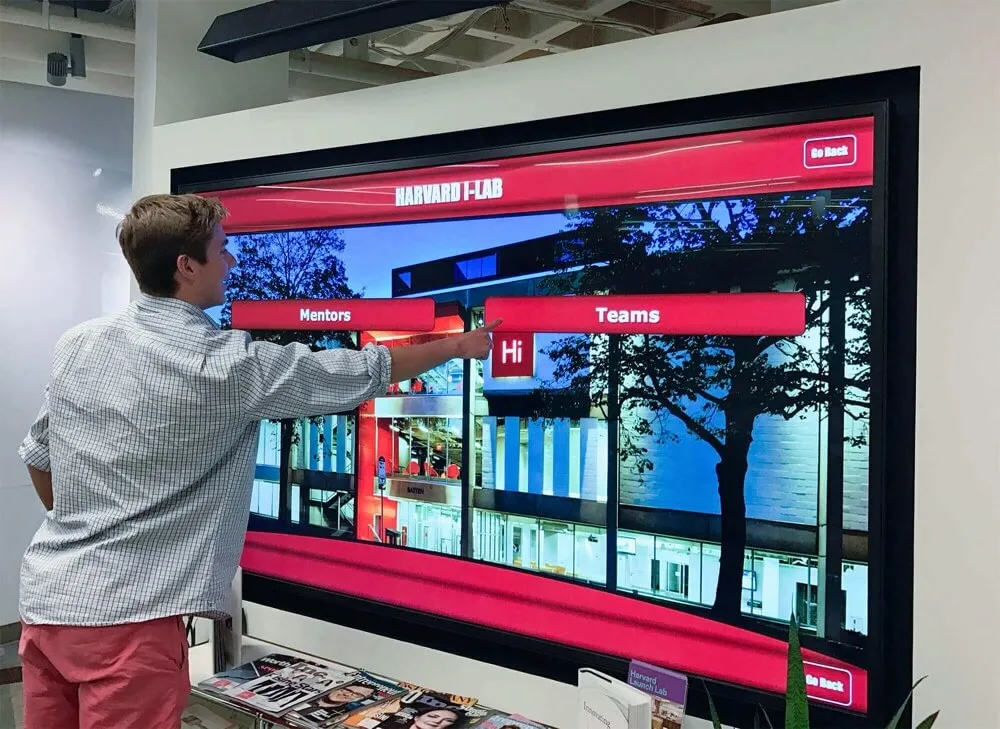
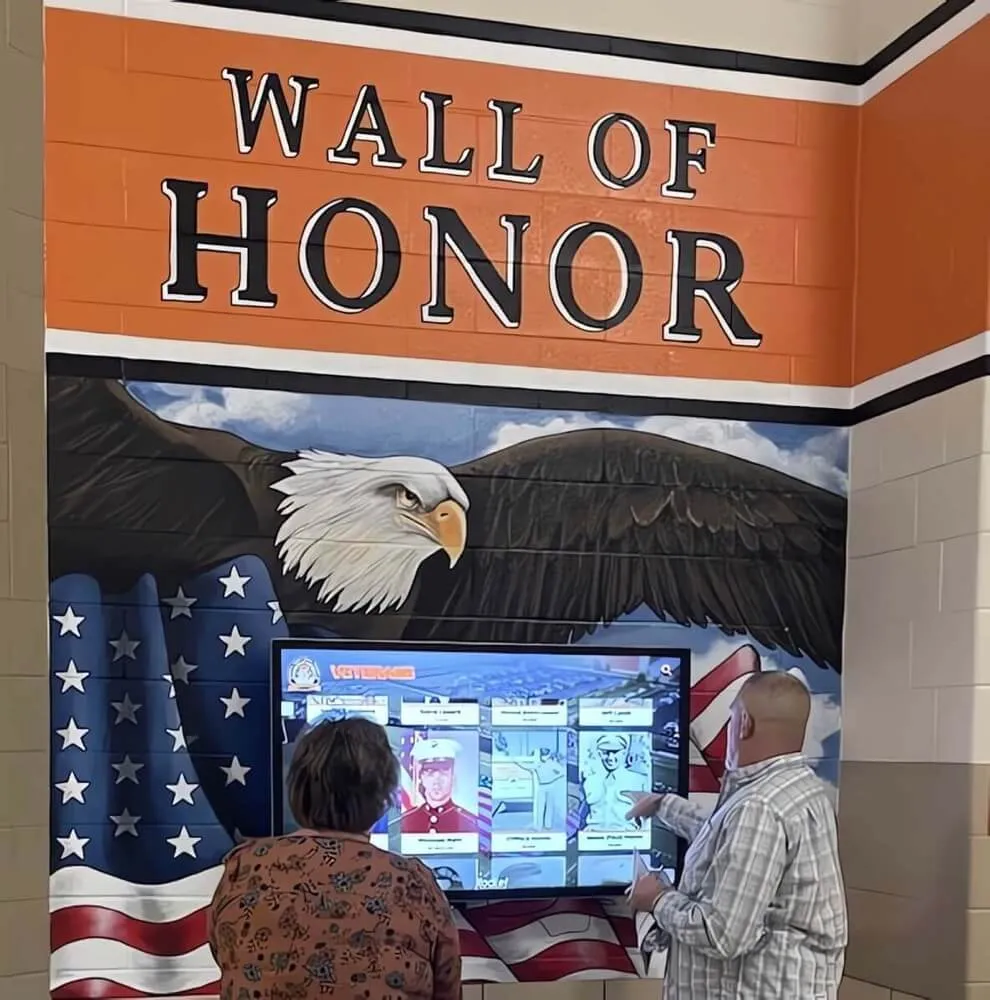
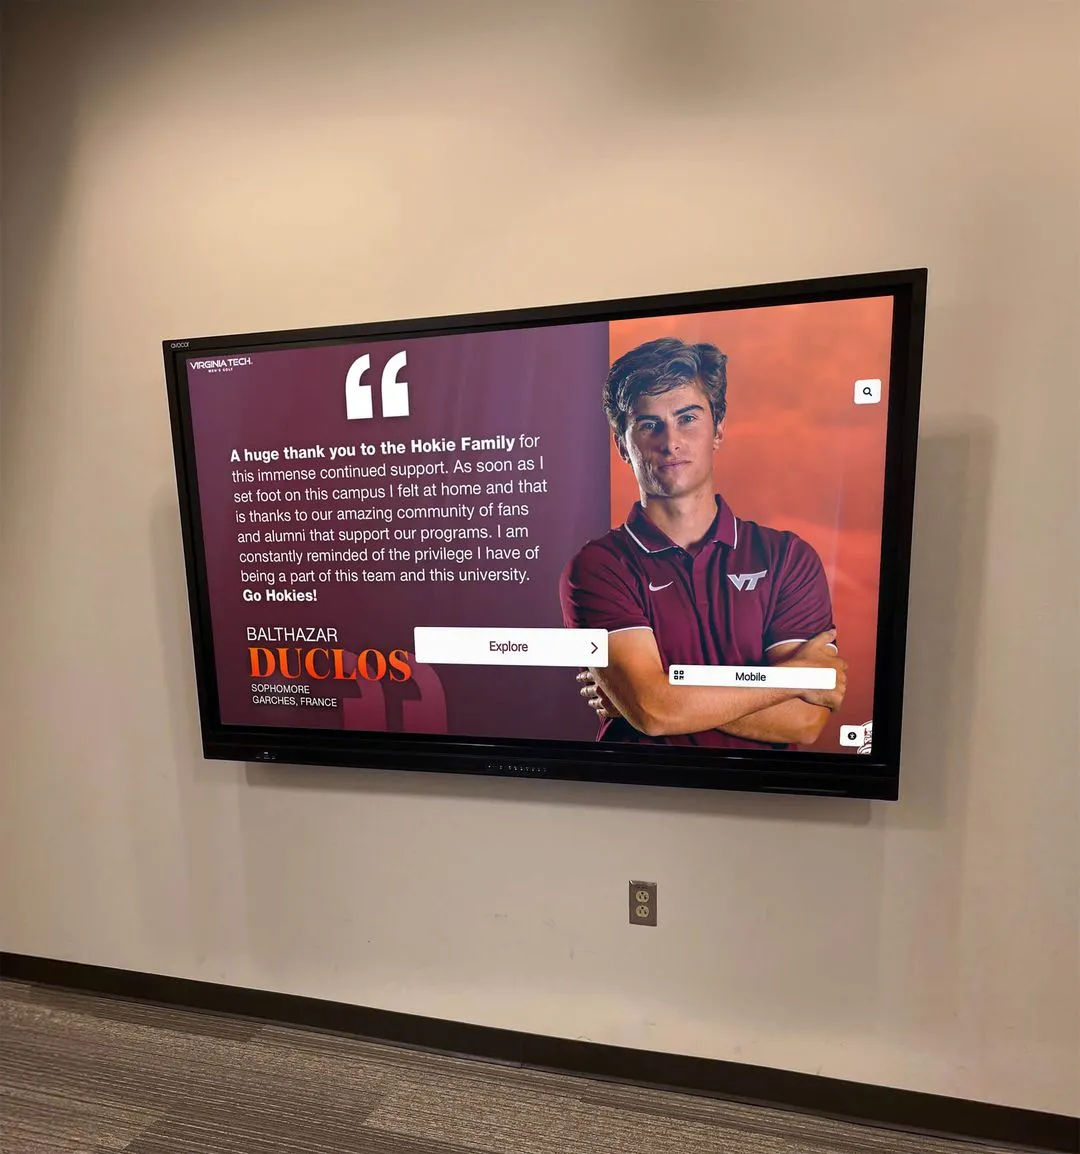
Recognition programs celebrate the dedication and skill development that competitive cheer demands
Mental and Technical Skills
- Body awareness and spatial orientation
- Timing and rhythm coordination
- Explosive power generation technique
- Landing mechanics and body control
- Confidence and performance mindset
Building these physical capabilities requires dedicated conditioning work beyond jump practice itself, incorporating strength training, flexibility work, and plyometric exercises specific to cheerleading demands.
Toe Touch: The Signature Cheerleading Jump
The toe touch stands as the most iconic and recognizable cheerleading jump, characterized by legs extending to the sides in a straddled position while arms reach toward toes.
Toe Touch Technique Breakdown
Starting Position and Approach
- Begin in standard prep position with feet together
- Arms start in high V or touchdown position
- Weight on balls of feet, ready to explode upward
- Core engaged and hips square
The Approach Swing Most toe touches use the “clasp-high V” approach:
- Arms swing down to clasp at waist
- Continue back past hips
- Drive explosively up to high V position
- Timing synchronizes with jump takeoff
Alternative approaches include the “T-motion” (arms to T position then down and up) or “daggers” (fists at hips then punch up).
Jump Execution and Form
- Explode upward from balls of feet
- Drive hips forward and slightly upward (not sitting back)
- Legs lift and rotate outward from hip socket
- Knees face upward toward ceiling (not forward)
- Toes pointed throughout movement
- Legs straddle wide in a “V” shape
- Arms drive to high V or reach toward feet
- Chest stays lifted and upright
- Head neutral with eyes forward

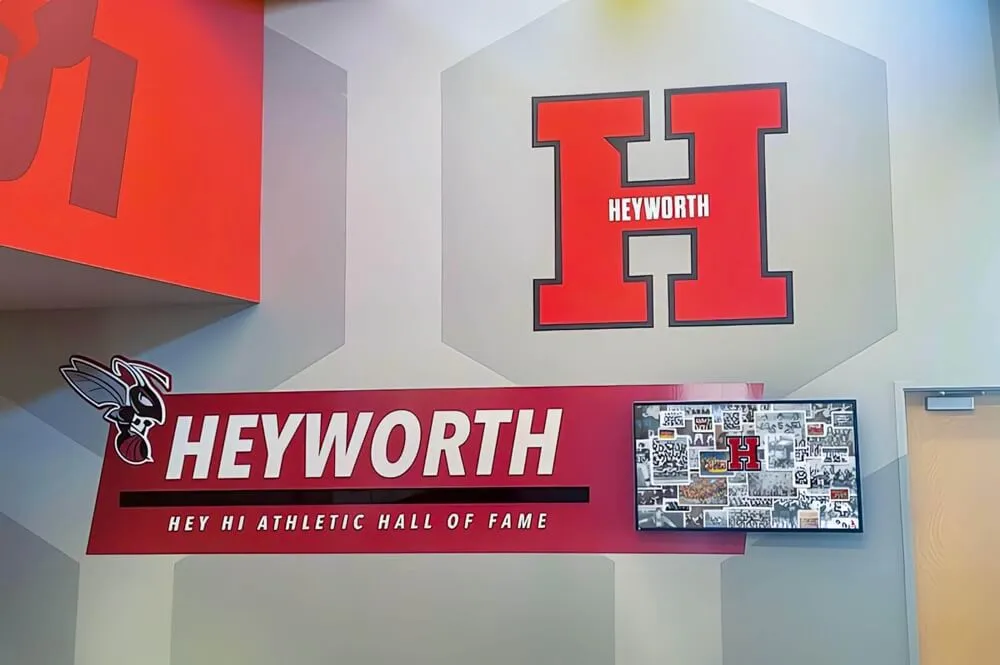
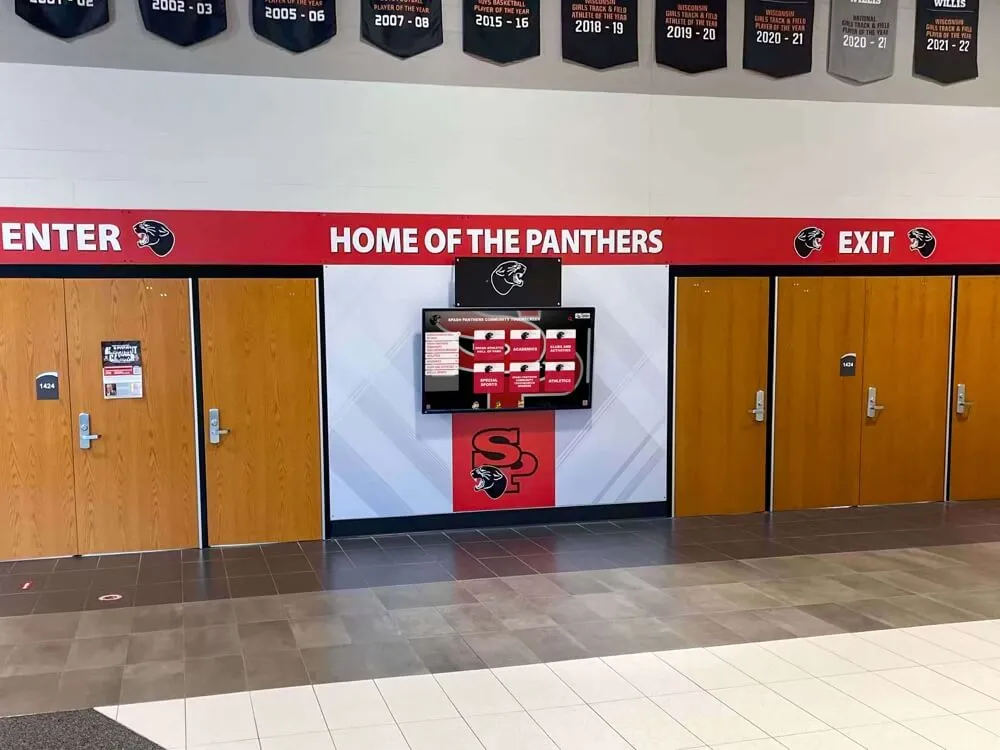
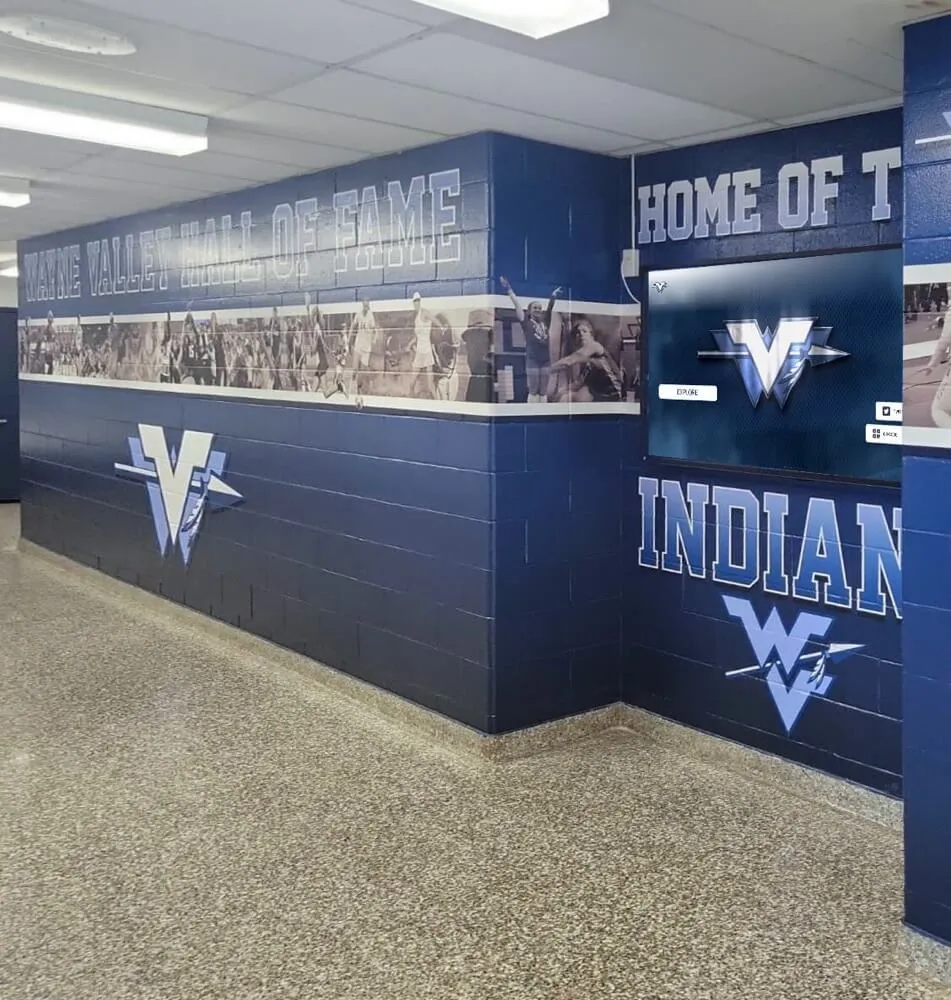
School spirit programs recognize achievements across athletic programs including competitive cheerleading
Landing Technique
- Legs snap together before landing
- Land on balls of feet with knees bent
- Feet return to starting position
- Arms return to prep or designated position
- Maintain balance without additional steps
Common Toe Touch Mistakes
The “Sitting” Position Problem: Hips drop backward creating a seated appearance rather than a straddled jump.
Fix: Focus on driving hips forward and upward during takeoff. Imagine pushing your hips toward the ceiling rather than leaning back. Practice wall sits to strengthen the hip position.
Knees Facing Forward (Cheerleader Toes) Problem: Legs lift with knees pointing forward rather than rotating outward.
Fix: Concentrate on external rotation from the hip socket. Toes and knees should point toward the ceiling. Practice seated straddle stretches while rotating knees upward.
Poor Leg Height Problem: Legs don’t reach horizontal or approach head height.
Fix: Combine explosive leg strength training with increased hip flexor flexibility. Use resistance band exercises and dynamic stretching protocols. Focus on jumping UP before worrying about leg position.
Incorrect Arm Placement Problem: Arms reach too far forward, throw off balance, or lack synchronization.
Fix: Practice arm motions separately from jumps. Maintain high V position or reach slightly forward of perpendicular, not directly toward feet. Arms should enhance rather than destabilize.
Just as cheer programs develop through progressive skill building, recognition systems evolve to showcase athletic growth. Learn about team celebration ideas for athletes’ big wins that honor dedication across all achievement levels.
Toe Touch Progression Plan
Level 1: Foundation Building (Weeks 1-4)
- Pike stretches: seated, standing, and lying
- Straddle flexibility: seated wide-leg stretches
- Jump rope: 5-10 minutes daily for explosive power
- Wall sits: 30-60 seconds, 3 sets
- Tuck jumps: focus on maximum height, 3 sets of 10
Level 2: Skill Introduction (Weeks 5-8)
- Approach drills: practice arm swings without jumping
- Seat kicks: lying on back, snap legs to toe touch position
- Pike jumps with toe touch arms: jump legs forward rather than side
- Assisted toe touches: jump with hands on wall or partner support
- Toe touch snapdowns: from elevated surface, practice landing technique
Level 3: Technique Refinement (Weeks 9-12)
- Full toe touches with form focus over height
- Video analysis: record jumps and review technique
- Toe touch combinations: connecting multiple jumps
- Performance under fatigue: toe touches after conditioning
- Competition-ready execution: jumps with full energy and showmanship
Level 4: Advanced Performance (Week 13+)
- Toe touch variations: double toe touches, toe touch to pike
- Maximum height challenges: measure progress with video analysis
- Performance sequences: integrating toe touches into routines
- Conditioning maintenance: sustaining flexibility and power
- Consistent execution: performing at competition level regularly
Hurdler: The Athletic Power Jump
The hurdler jump—also called a hurdle jump—features one leg extended forward in a straight line while the other leg bends behind, creating the appearance of a track athlete clearing a hurdle.
Hurdler Jump Technique
Setup and Approach
- Standard prep position with feet together
- Arms in high V or designated approach position
- Determine which leg will extend forward (front leg) and which bends back (back leg)
- Most cheerleaders have a preferred side based on natural flexibility
Approach Variations The hurdler commonly uses:
- Clasp-high V approach: same as toe touch
- Criss-cross approach: arms cross at chest then extend
- Specific choreographed approaches matching routine requirements
Jump Execution
- Explosive vertical jump from both feet
- Front leg extends straight forward
- Toe pointed, knee straight, leg at horizontal or higher
- Back leg bends with heel pulled toward glutes
- Knee of back leg points downward, not outward
- Hips square and facing forward (not rotated)
- Chest upright and shoulders back
- Front arm extends forward (same side as front leg)
- Back arm extends behind or to side (depends on style)
- Head and eyes forward with confident expression
Landing
- Both legs snap together before touchdown
- Land on balls of feet with knees bent
- Return to prep position with control
- Arms return to designated position
Hurdler Variations
Traditional Hurdler
- Front leg horizontal
- Back leg bent at 90 degrees or tighter
- Arms in opposition (front arm forward)
Side Hurdler
- Body rotates 90 degrees in air
- Front leg extends to side
- Creates profile view of hurdle position
- Often used in kick sequences
Double Hurdler
- Switch legs mid-jump
- Start with one leg forward, switch to opposite
- Advanced variation requiring exceptional body control
- Impressive visual effect in routines

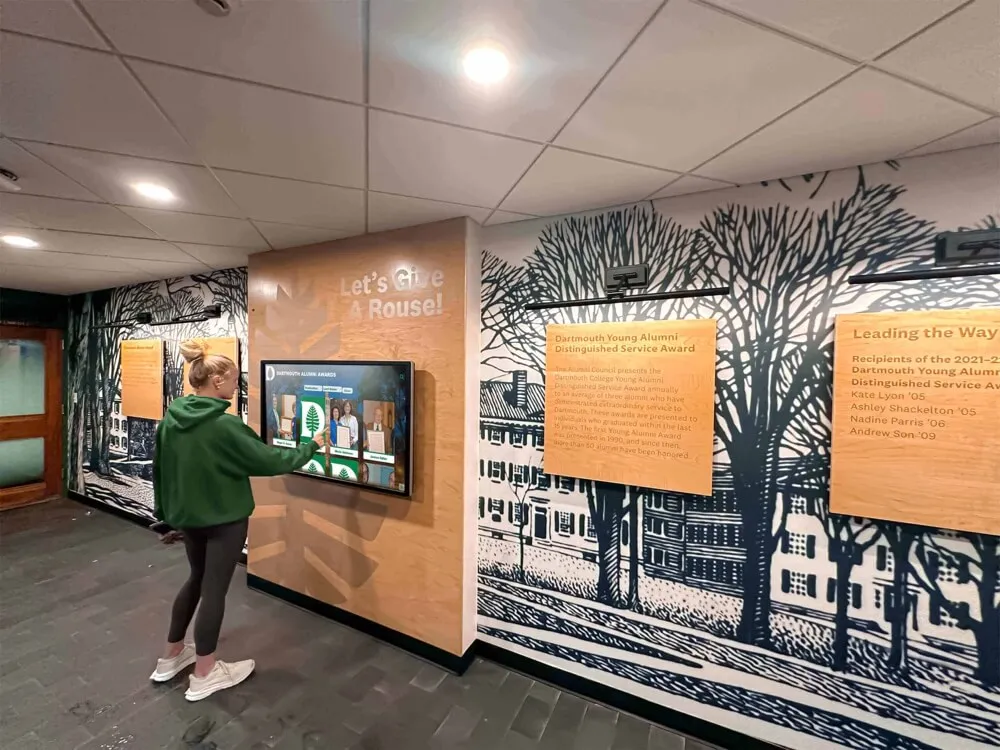
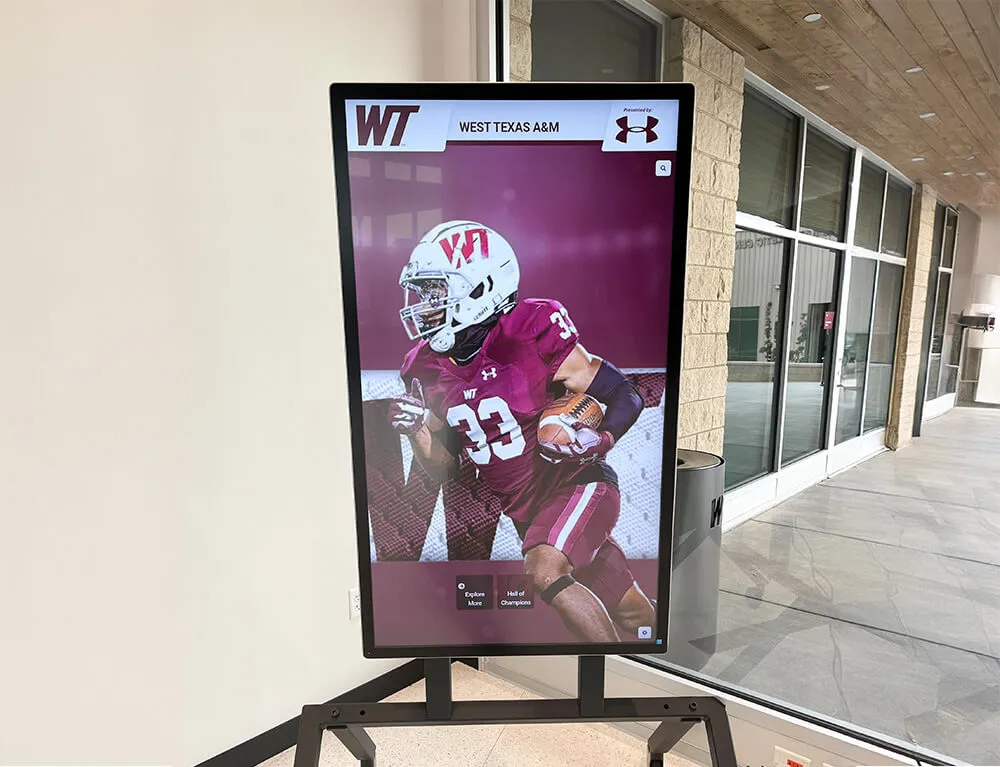
Digital displays document diverse athletic achievements including individual skill milestones and team accomplishments
Common Hurdler Mistakes and Fixes
Rotated Hips Problem: Hips turn to the side rather than staying square, making the jump appear twisted.
Fix: Practice hurdler position on the ground with hips flat. During jumps, focus on keeping hips facing forward. Place hands on hip bones during practice jumps to feel rotation.
Back Leg Positioning Problem: Back leg kicks out to the side rather than bending directly behind.
Fix: Visualize pulling your heel directly to your glutes. Practice standing quad stretches to develop the correct pulling motion. Strengthen hip flexors to control leg position.
Insufficient Front Leg Height Problem: Front leg doesn’t reach horizontal or extends with bent knee.
Fix: Build hamstring and hip flexor flexibility through targeted stretching. Practice standing leg lifts holding front leg at maximum height. Focus on the explosive upward drive that creates time to achieve full extension.
Poor Upper Body Position Problem: Chest collapses forward or upper body leans back.
Fix: Strengthen core muscles through planks and hollow body holds. Practice jumps with hands behind head to force upright positioning. Film jumps to check upper body alignment.
Many schools now recognize athletic skill development across all competitive programs. Discover how athletic banquets celebrate team achievements for comprehensive sports programs including competitive cheer.
Hurdler Training Progression
Foundation Phase
- Hamstring stretches: standing, seated, lying variations
- Quadricep stretches: standing quad pulls, couch stretches
- Hip flexor strengthening: leg raises, mountain climbers
- Balance training: single-leg holds, stability exercises
Skill Development Phase
- Ground hurdler drills: practice position lying down
- Supported hurdler jumps: use wall or barre for balance
- Hurdler without arms: focus solely on leg positioning
- Progressive height goals: gradually increase front leg height
Performance Phase
- Full hurdler jumps with proper form
- Hurdler combinations and sequences
- Left and right leg hurdlers (develop both sides)
- Integration into full choreography
Pike Jump: Precision and Control
The pike jump requires both legs to extend straight forward together while the upper body folds slightly forward, creating a “V” shape in the air.
Pike Jump Technical Elements
Starting Position
- Standard prep with feet together
- Arms in designated approach position
- Core engaged for the folding motion required
- Weight distributed on balls of feet
Approach Method Pike jumps typically use:
- High V approach: arms in high V, swing to clasp, drive back up
- T-motion approach: arms to T, down to hips, drive up
- Specific choreographed approaches matching team style
Jump Mechanics
- Explosive vertical takeoff from both feet together
- Both legs lift simultaneously forward
- Legs remain together, knees straight, toes pointed
- Hips drive upward while legs lift
- Upper body folds slightly forward from hips (not rounded spine)
- Arms reach toward toes or extend in high V
- Head stays neutral, not dropping forward
- Legs ideally reach horizontal or higher
![]()
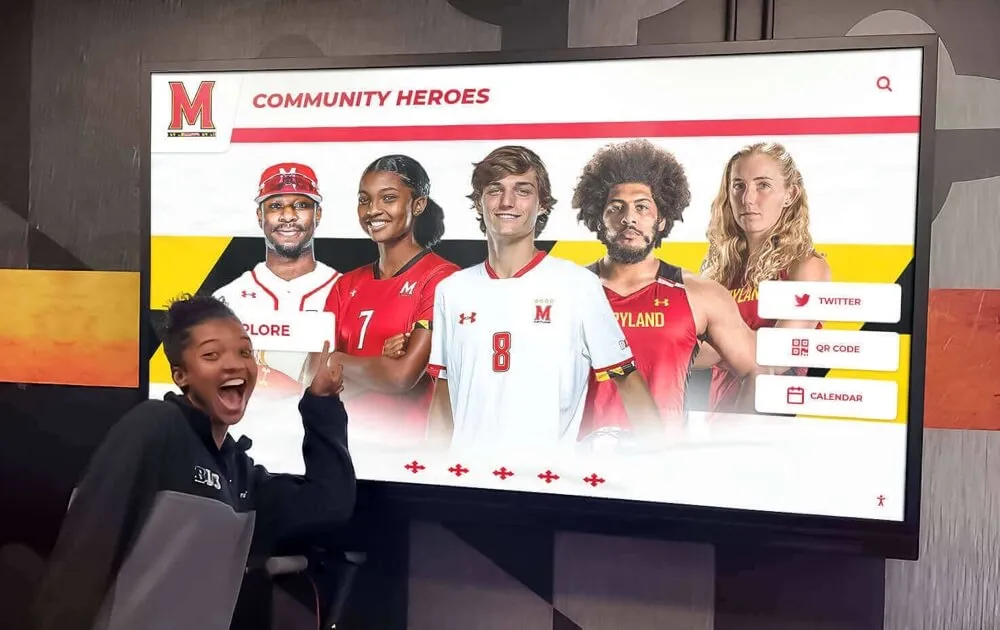
Athletic programs celebrate team spirit and individual skill development across diverse sports
Landing Sequence
- Legs return to starting position before landing
- Land with feet together on balls of feet
- Knees bend to absorb impact
- Arms return to designated position
- Maintain upright posture and balance
Pike Jump Common Errors
Bent Knees Problem: Legs bend at knees rather than extending straight, reducing visual impact.
Fix: Build quadricep strength through wall sits and squats. Practice seated pike stretches with legs perfectly straight. Focus on knee engagement during jump execution.
Insufficient Leg Height Problem: Legs don’t reach horizontal position, creating minimal visual effect.
Fix: Increase hamstring flexibility through daily stretching routines. Strengthen hip flexors and lower abs with leg lift exercises. Practice pike jumps off elevated surfaces for increased air time.
Rounded Back Problem: Spine rounds rather than folding at hips, creating poor body line.
Fix: Strengthen lower back and posterior chain. Practice pike position on ground with flat back. Focus on hinging at hips rather than curling spine forward.
Over-Folding Upper Body Problem: Upper body collapses too far forward, causing loss of control or poor landing.
Fix: Practice pike jumps with minimal forward lean initially. Film jumps to assess appropriate folding angle. Strengthen core to control upper body position throughout jump.
Pike Jump Progression Strategy
Flexibility Foundation (2-4 weeks)
- Daily pike stretches: seated and standing
- Hamstring flexibility: various stretching positions
- Hip flexor strengthening: leg raises and holds
- Core conditioning: planks, hollow holds, V-sits
Technical Development (4-6 weeks)
- Pike position drills on ground
- Seated pike snaps: practice rapid leg extension
- Pike jumps with partner assistance
- Progressive height development
- Arm positioning integration
Performance Mastery (Ongoing)
- Competition-level pike jumps with full technique
- Pike jump combinations
- Consistent execution under fatigue
- Integration with full routine choreography
Herkie: The Asymmetrical Classic
The herkie—named after cheerleading pioneer Lawrence “Herkie” Herkimer—combines elements of multiple jumps with one leg bent and one straight, creating a distinctive asymmetrical position.
Herkie Jump Technique Analysis
Preparation and Approach
- Standard cheerleading prep position
- Arms typically in high V or T position
- Determine lead leg (usually follows dominant side)
- Weight ready on balls of feet
Approach Sequence Common herkie approaches include:
- Clasp-high V: standard approach with swing down, back, up
- T-punch: arms to T, down to punch, drive up
- Daggers: fists at hips, punch upward
Herkie Position Execution
- Explosive vertical jump from both feet
- One leg (typically non-dominant) bends to the side
- Bent leg’s knee points to the side, foot pulled toward inside of opposite knee
- Straight leg (dominant leg) extends to opposite side
- Straight leg at or above horizontal, toe pointed
- Hips remain relatively square (slight rotation acceptable)
- Chest upright with shoulders back
- One arm (same side as bent leg) bends at elbow with fist at shoulder
- Opposite arm extends straight (high V or T position)
- Head and eyes forward with confident expression
Landing Mechanics
- Both legs return to together position
- Land on balls of feet with bent knees
- Feet together in original prep position
- Arms return to prep stance
- Maintain balance without extra steps
Herkie Variations
Traditional Herkie
- Bent leg to one side, straight leg to other
- Arms in characteristic bent-straight position
- Most common in traditional cheerleading
Front Herkie
- Straight leg extends forward rather than to side
- Bent leg remains to the side
- Creates different visual line
Herkie Hurdle (Hybrid)
- Combines herkie and hurdler elements
- One leg bent behind (hurdle style)
- Other leg extended forward or to side
- Various arm positions possible

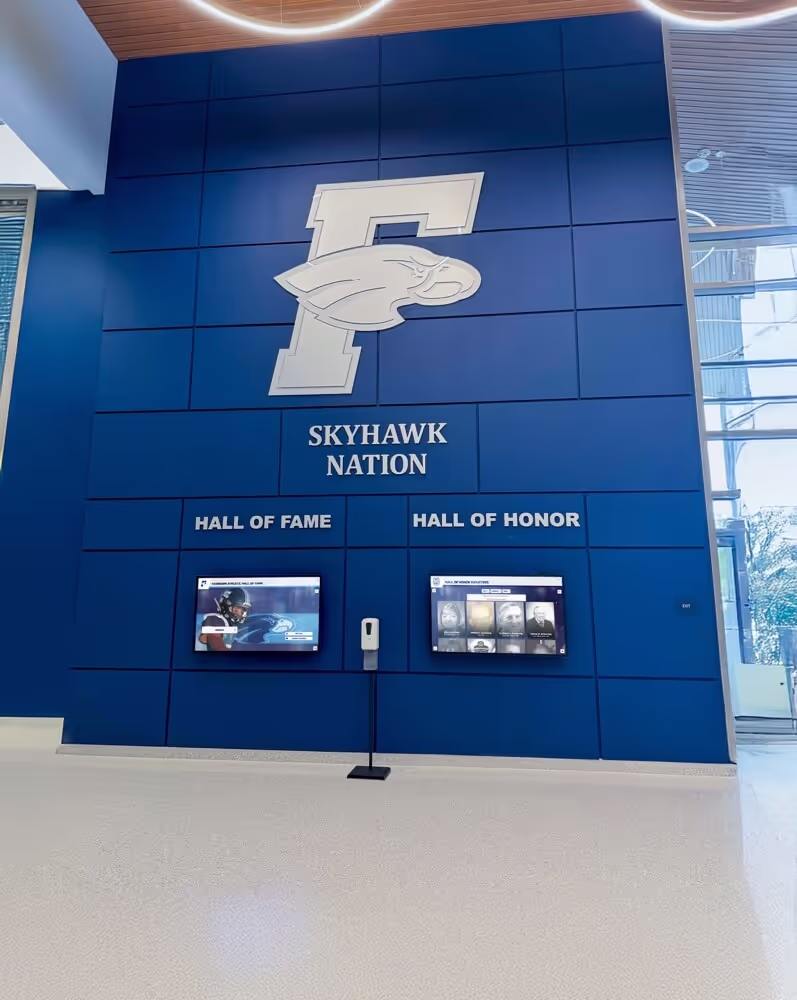
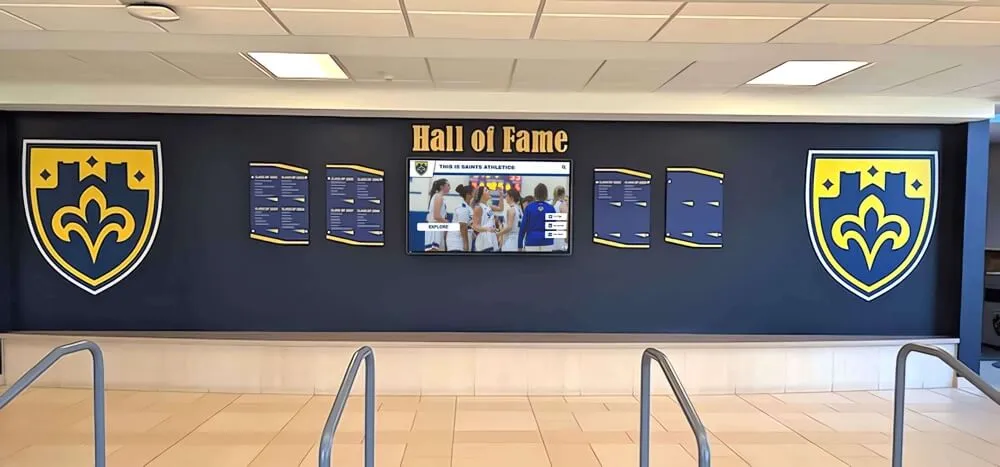
Comprehensive recognition systems honor teams and individual athletes who master complex athletic skills
Common Herkie Mistakes
Incorrect Bent Leg Position Problem: Bent leg kicks back like a hurdler rather than extending to the side.
Fix: Practice herkie position standing with one hand on wall for balance. Visualize bent knee pointing directly to the side. Check positioning in mirror during practice.
Straight Leg Too Low Problem: Extended leg doesn’t reach horizontal, reducing jump’s visual impact.
Fix: Build hip and hamstring flexibility. Practice side leg lifts and holds. Focus on explosive upward drive that creates time for full extension.
Twisted Hips Problem: Hips rotate excessively rather than staying relatively square.
Fix: Strengthen obliques and core muscles for rotational control. Practice herkie position on ground focusing on hip alignment. Film jumps from front view to check hip position.
Arm Confusion Problem: Arms don’t match traditional herkie positioning or appear awkward.
Fix: Practice arm motions separately from jumps. Remember: bent arm on same side as bent leg. Drill arm positions in front of mirror until automatic.
Competitive cheer programs increasingly receive recognition alongside traditional athletics. Explore fall sports state championship recognition that includes competitive cheer achievements.
Herkie Training Protocol
Initial Learning (Weeks 1-3)
- Herkie position identification and practice
- Standing herkie drills with support
- Flexibility work for bent and straight leg positions
- Arm pattern memorization and practice
Skill Development (Weeks 4-8)
- Assisted herkie jumps with partner support
- Herkie jumps focusing on form over height
- Video analysis and technique correction
- Progressive height development
Performance Integration (Weeks 9+)
- Full herkie jumps at performance level
- Left and right leg variations
- Herkie sequences and combinations
- Routine integration and consistent execution
Strength and Conditioning for Jump Development
Successful cheerleading jumps require dedicated physical preparation beyond practicing jumps themselves.
Strength Training Essentials
Lower Body Power Development
Box jumps: 3 sets of 8-10 repetitions
- Develops explosive power for jump height
- Trains landing mechanics and control
- Progressively increase box height
Squat variations: 3 sets of 12-15 repetitions
- Back squats, goblet squats, split squats
- Builds quad and glute strength for takeoff power
- Use bodyweight initially, add resistance progressively
Jump lunges: 3 sets of 10 per leg
- Develops single-leg power and stability
- Improves explosive strength imbalances
- Enhances landing control
Core Strength and Stability
Plank variations: 3 sets of 30-60 seconds
- Front planks, side planks, plank shoulder taps
- Builds core stability for body control
- Maintains proper alignment during jumps
Hollow body holds: 3 sets of 20-40 seconds
- Strengthens entire anterior core chain
- Improves body tension and control
- Directly transfers to jump positioning
V-ups and bicycle crunches: 3 sets of 15-20 repetitions
- Develops hip flexor and abdominal strength
- Improves leg lifting power and speed
- Builds endurance for repeated jumps
Hip Flexor Specific Training
Leg raises: 3 sets of 12-15 repetitions
- Hanging leg raises, lying leg raises, captain’s chair
- Directly strengthens jump-specific muscles
- Progressively work toward straight-leg versions
Resistance band kicks: 3 sets of 15 per direction
- Front kicks, side kicks, back kicks with resistance
- Builds strength in extended positions
- Improves speed of leg snap and positioning
Flexibility and Mobility Work
Dynamic Flexibility (Pre-Practice)
Leg swings: 2 sets of 10-15 per direction
- Front-to-back and side-to-side variations
- Prepares muscles for explosive movements
- Gradually increases range of motion
Walking lunges with rotation: 2 sets of 10 per leg
- Opens hips while building strength
- Improves multi-planar mobility
- Activates jumping muscles
Static Flexibility (Post-Practice)
Pike stretches: 3-5 minutes total
- Seated pike, standing pike, single-leg variations
- Hold 30-60 seconds per position
- Breathe deeply and relax into stretch
Straddle stretches: 3-5 minutes total
- Seated straddle, center and side reaches
- Focus on hip socket opening
- Maintain straight back throughout
Hip flexor stretches: 2-3 minutes per side
- Kneeling hip flexor stretches, couch stretches
- Essential for jump height development
- Hold positions longer for deeper release
Schools celebrating athletic achievement across all programs create inclusive recognition cultures. Learn about outstanding student recognition programs that honor diverse accomplishments.
Jump-Specific Conditioning Drills
Approach and Timing Drills
Approach-only repetitions: 10-15 reps
- Practice arm swing without jumping
- Perfect timing and coordination
- Build muscle memory for consistent approach
Approach with tuck jump: 10 reps
- Full approach swing into maximum height tuck jump
- Develops explosive power with proper approach
- Focuses on height rather than specific jump position
Position and Technique Drills
Seat kicks: 3 sets of 10-15
- Lying on back, snap to jump position
- Practices rapid leg positioning
- Builds hip flexor endurance and speed
Jump snapdowns: 2 sets of 8-10 per jump type
- From elevated surface, jump and hit position
- Extended air time allows position refinement
- Practices landings from height
Endurance and Performance Conditioning
Jump sequences: 30-60 seconds continuous
- Continuous jumps with minimal recovery
- Builds endurance for routine performance
- Maintains technique under fatigue
Routine simulations: full routine length
- Practice jumps in routine context
- Develops performance conditioning
- Identifies stamina weaknesses
Mental Training and Performance Psychology
Physical preparation alone doesn’t guarantee consistent jump performance—mental skills separate good jumpers from great ones.
Visualization and Mental Rehearsal
Pre-Practice Visualization Spend 3-5 minutes before each practice:
- Visualize each jump type with perfect form
- Imagine the feeling of explosive height
- Picture precise positioning at peak height
- See yourself landing with control and confidence
Performance Imagery Before routines or evaluations:
- Mentally rehearse entire jump sequence
- Visualize success in competitive environment
- Practice feeling calm and confident
- Imagine executing perfectly under pressure
Building Jump Confidence
Progressive Challenge Approach
- Set specific, achievable goals for each practice
- Celebrate small improvements and milestones
- Build confidence through consistent success
- Gradually increase difficulty and expectations
Positive Self-Talk
- Replace negative thoughts (“I can’t”) with constructive alternatives (“I’m improving”)
- Focus on process (“drive my hips up”) rather than outcome (“don’t mess up”)
- Develop personal mantras or focus phrases
- Maintain encouraging internal dialogue
Performance Under Pressure
Competition Simulation
- Practice jumps with teammates watching
- Perform under fatigue conditions
- Execute with music and routine pressure
- Create artificial pressure situations during training
Focus and Concentration Techniques
- Develop pre-jump routine for consistency
- Use breathing techniques to manage nervousness
- Focus on controllable technical elements
- Let go of mistakes quickly and refocus

Interactive recognition systems celebrate athletic achievements and inspire continued excellence across all sports programs
Recognizing Cheerleading Excellence and Skill Development
As cheerleading gains recognition as the demanding athletic discipline it truly is, schools increasingly celebrate cheer achievements alongside traditional sports accomplishments.
Modern Approaches to Cheerleading Recognition
Digital Recognition Systems Progressive schools now showcase cheerleading accomplishments through interactive displays that:
- Document skill progression and milestone achievements
- Highlight competition results and championship performances
- Feature individual athlete profiles with photos and accomplishments
- Display team histories and evolution of program excellence
- Enable updates as athletes develop new skills and reach higher levels
These systems create permanent records of athletic development while making achievements accessible to the entire school community, reinforcing that competitive cheer demands the same dedication, skill, and recognition as any varsity sport.
Comprehensive Achievement Documentation Modern recognition approaches capture:
- Skill milestone achievements (first standing back tuck, first toe touch above horizontal)
- Competition placements and championship results
- Individual awards and all-star team selections
- Years of program participation and team leadership
- Specific jump mastery and technique excellence
Creating Culture of Athletic Excellence
Schools that effectively recognize cheerleading alongside traditional athletics:
- Include cheer accomplishments in athletics displays and announcements
- Feature cheerleaders in athletic achievement celebrations and banquets
- Document skill progressions and individual growth
- Celebrate competition results with same visibility as other sports
- Honor both team success and individual skill development
Many athletic directors now recognize competitive cheer’s place in comprehensive athletics programs. Discover sports banquet award ideas that include cheerleading achievements.
Injury Prevention and Safe Jump Training
Cheerleading jumps place significant stress on joints and muscles, making injury prevention essential for long-term athletic development.
Common Jump-Related Injuries
Ankle Injuries
- Sprains from landing instability
- Achilles tendon stress from repetitive jumping
- Prevention: proper warm-up, strength training, controlled landings
Knee Injuries
- Patellar tendinitis from repetitive explosive movements
- Ligament stress from improper landing mechanics
- Prevention: strengthen surrounding muscles, practice proper landing technique
Hip and Groin Strains
- Overstretching during jump positions
- Muscle strains from insufficient warm-up
- Prevention: progressive flexibility development, proper stretching protocols
Lower Back Issues
- Stress from poor jump mechanics or excessive arching
- Muscle strains from inadequate core strength
- Prevention: core strengthening, proper technique focus
Safe Training Practices
Proper Warm-Up Protocol Always begin training with:
- 5-10 minutes cardiovascular warm-up (light jogging, jumping jacks)
- Dynamic stretching focused on legs and hips
- Activation exercises for jumping muscles
- Progressive intensity building before full effort
Appropriate Training Volume Avoid overtraining through:
- Limiting max-effort jumps to 30-50 per practice initially
- Building volume gradually over weeks and months
- Incorporating rest days for recovery
- Varying intensity between practice sessions
Surface Considerations
- Practice on appropriate surfaces (spring floors, mats, gym floors)
- Avoid concrete or other unforgiving surfaces
- Use proper footwear with adequate support
- Consider impact-absorbing equipment for repetitive training
Listen to Your Body
- Address pain or discomfort immediately
- Distinguish between muscle fatigue and injury pain
- Seek medical attention for persistent issues
- Don’t push through sharp or unusual pain
Creating a Jump Development Training Plan
Systematic training produces better results than random practice sessions.
Sample 12-Week Jump Program
Weeks 1-3: Foundation Phase Focus: Flexibility, strength, and basic technique
Monday/Wednesday/Friday:
- Warm-up: 10 minutes
- Strength training: 30 minutes (lower body and core focus)
- Jump approach drills: 15 minutes
- Basic jump practice: 20-30 jumps focusing on form
- Flexibility work: 15-20 minutes
Tuesday/Thursday:
- Active recovery: light cardio and stretching
- Flexibility-focused session: 30-45 minutes
- Mental visualization: 10 minutes
Weeks 4-7: Skill Development Phase Focus: Specific jump technique and position mastery
Monday/Wednesday/Friday:
- Warm-up and dynamic stretching: 15 minutes
- Jump-specific drills: 20 minutes
- Targeted jump practice: 40-50 jumps per session
- Toe touches: 15 jumps
- Hurdlers (both legs): 12 jumps each side
- Pikes: 15 jumps
- Herkies (both variations): 12 jumps each side
- Conditioning: 15 minutes
- Flexibility: 20 minutes
Tuesday/Thursday:
- Strength maintenance: 30 minutes
- Flexibility and mobility: 30 minutes
- Video analysis and mental training: 15 minutes
Weeks 8-10: Performance Phase Focus: Consistency, height, and routine integration
Monday/Wednesday/Friday:
- Warm-up: 15 minutes
- Max-effort jumps: 30-40 total (quality over quantity)
- Jump combinations and sequences: 20 minutes
- Routine integration: 20 minutes
- Conditioning: 15 minutes
- Flexibility: 15 minutes
Tuesday/Thursday:
- Recovery and maintenance work
- Targeted weakness training
- Mental preparation and visualization
Weeks 11-12: Competition Preparation Phase Focus: Consistent execution under pressure
Monday/Wednesday/Friday:
- Competition simulation practices
- Performance-quality jumps: 20-30 total
- Full routine work with jumps integrated
- Mental training and focus work
- Maintenance conditioning and flexibility
Tuesday/Thursday:
- Active recovery
- Flexibility maintenance
- Mental preparation
- Rest as needed
Tracking Progress and Measuring Improvement
Measurable Metrics
- Video comparison: monthly filming from same angles
- Height measurements: mark peak leg position against wall or measure vertical height
- Consistency tracking: percentage of jumps meeting form standards
- Flexibility assessments: pike and straddle position measurements
- Strength testing: vertical jump height, broad jump distance
Qualitative Assessments
- Coach feedback and technique evaluation
- Self-assessment of perceived improvement
- Confidence levels in performance situations
- Consistency under fatigue and pressure
- Overall jump quality and visual impression
Schools developing comprehensive athletic programs benefit from recognition systems that adapt as programs grow. Learn about custom designed hall of fame solutions for evolving recognition needs.
Conclusion: The Path to Jump Excellence
Mastering cheerleading jumps requires dedication that extends far beyond simply practicing jumps repeatedly. The most successful athletes combine technical understanding with systematic strength and flexibility development, mental preparation, and consistent deliberate practice.
Whether you’re working toward your first horizontal toe touch, developing both-side proficiency in hurdlers and herkies, or refining advanced variations and combinations, the principles remain consistent: build the physical foundation, master technical details, practice with purpose, and track your progress.
Remember that jump development isn’t linear—plateaus happen, setbacks occur, and improvement often comes in bursts rather than steady increments. Stay committed to the process, celebrate small victories, and maintain perspective on the athletic journey you’re undertaking.
As competitive cheerleading continues gaining recognition as the demanding athletic discipline it truly is, the athletes who master these fundamental skills position themselves for success at higher competitive levels while representing their schools with skills that inspire teammates and future cheerleaders.
For schools looking to celebrate cheerleading achievements alongside traditional athletics programs, modern recognition solutions create inclusive cultures where all student-athletes feel valued for their dedication and skill development. Explore how digital recognition systems help schools honor diverse athletic achievements while building pride across comprehensive athletics programs.