


Homecoming floats transform ordinary flatbed trailers into spectacular moving displays that showcase school spirit, celebrate traditions, and create lasting memories for students, alumni, and communities. These elaborate parade centerpieces require careful planning, creative design, resourceful material selection, and coordinated teamwork to bring ambitious concepts from sketches to rolling reality.
Building a successful homecoming float challenges student organizations, class groups, and alumni associations to balance artistic vision with structural practicality, budget constraints with visual impact, and safety requirements with creative ambition. The process builds teamwork, problem-solving skills, and pride in collaborative achievement while creating tangible expressions of school identity that roll through streets connecting generations of graduates with current students.
This comprehensive guide provides everything needed to plan, design, and construct memorable homecoming floats—from initial concept development and theme selection through material sourcing, structural building techniques, decoration strategies, and safety protocols that ensure your float stands out in the parade while arriving intact and on schedule.
Homecoming floats represent collaborative creative projects that unite students, faculty, parents, and alumni around shared school pride. Whether building your first simple float or designing an elaborate multi-level spectacle, understanding fundamental principles of float construction ensures successful results that justify the considerable time and effort invested.

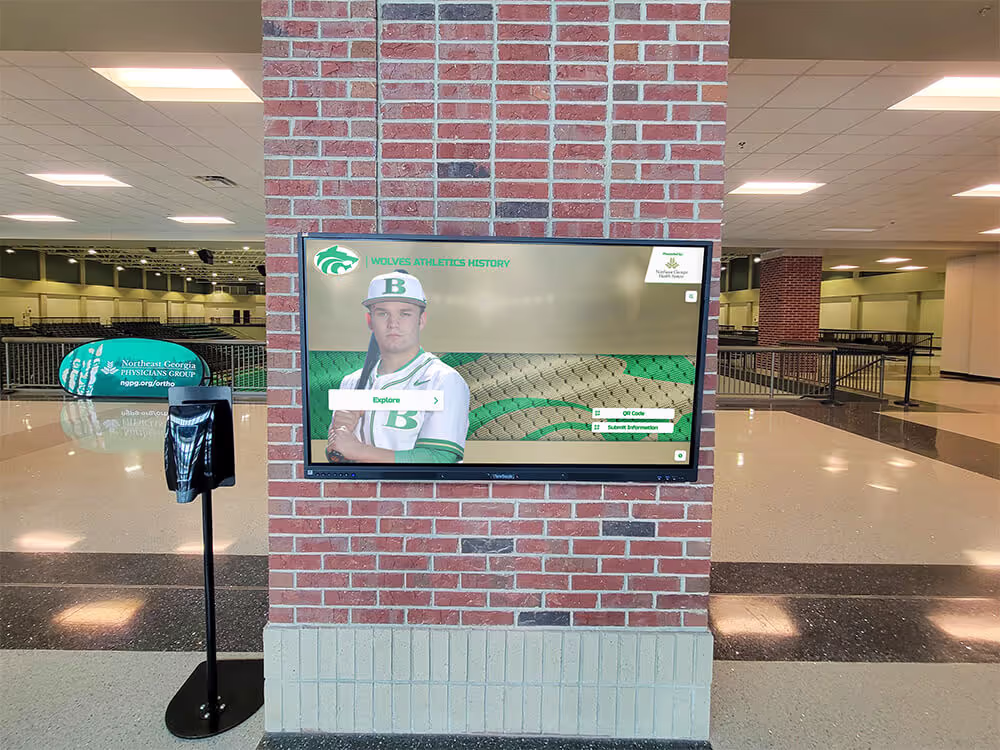
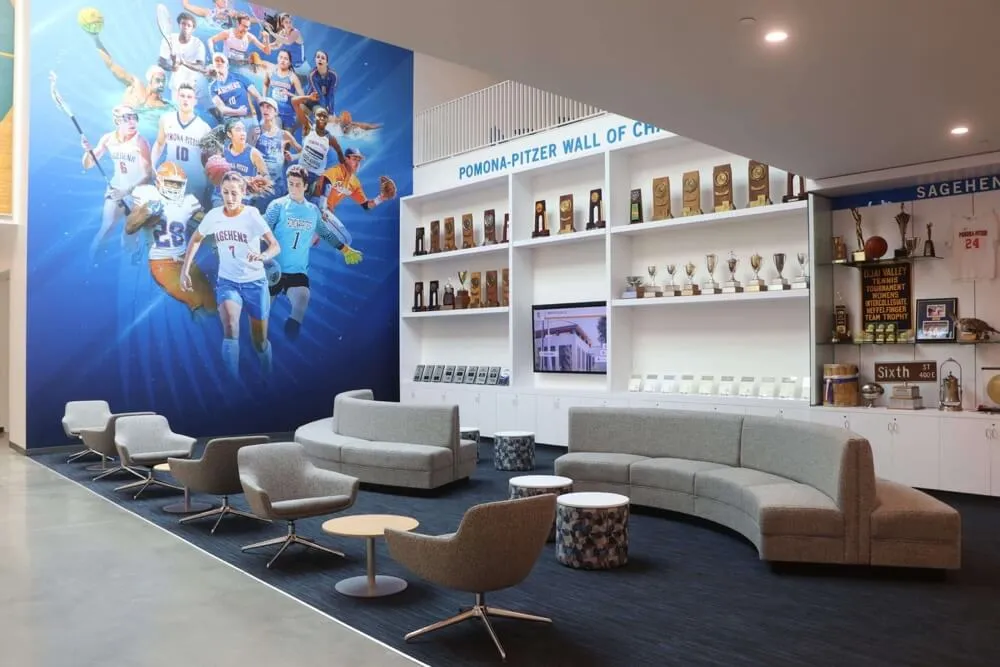
Schools express spirit through permanent displays and temporary celebrations like homecoming floats that bring communities together around shared traditions
Planning Your Homecoming Float Project
Successful float construction begins weeks before parade day with organized planning addressing theme development, budget allocation, timeline creation, and team coordination.
Establishing Your Float Building Timeline
8-10 Weeks Before Parade
- Form float committee and assign leadership roles
- Establish budget and funding sources
- Select theme aligned with homecoming week concept
- Research design inspiration and previous year examples
- Reserve trailer or float platform
- Identify workspace with electrical access and weather protection
6-8 Weeks Before
- Finalize design concept with detailed sketches
- Create materials list and budget breakdown
- Assign construction teams (framework, decoration, props)
- Purchase or collect base materials
- Begin framework construction
- Schedule work sessions and volunteer coordination
4-6 Weeks Before
- Complete structural framework
- Build major prop elements
- Test stability and weight distribution
- Order or collect decorative materials
- Create assembly timeline for final week
- Conduct safety inspection of framework
2-4 Weeks Before
- Apply chicken wire or base covering
- Begin tissue paper or decoration application
- Complete three-dimensional props and features
- Paint backdrop elements and signage
- Coordinate costume needs for float riders
- Plan music or sound system if applicable
Week of Parade
- Final decoration application and touch-ups
- Install signage and banner elements
- Load and secure props and structural elements
- Conduct final safety and stability check
- Rehearse with vehicle driver and float riders
- Plan parade day logistics and meeting times
Schools building floats alongside other homecoming parade planning benefit from coordinated timelines ensuring all parade elements come together successfully.
Theme Selection and Design Concept Development
Effective Float Theme Categories
School Pride and Mascot Themes
- Oversized mascot recreations
- School colors and symbolism
- Historic campus landmarks
- Athletic championship celebrations
- Academic achievement recognition
Pop Culture and Entertainment Themes
- Movie or television show recreations
- Music and concert stage designs
- Video game environments
- Viral internet trends and memes
- Nostalgic throwback concepts
Community and Local Themes
- Regional landmark recognition
- Local history celebration
- Community achievement highlights
- Civic pride and partnership
- Environmental and sustainability focus
Creative Wordplay and Pun Themes
- School name incorporated into visual puns
- Mascot-based clever sayings
- Rival school humorous comparisons
- Grade level or class year wordplay
- Subject area and academic puns
The most effective themes balance visual spectacle with clear messaging, ensuring parade spectators immediately understand your concept while appreciating creative execution.
Budget Planning and Resource Allocation
Typical Float Budget Categories
Platform and Structure
- Trailer rental or platform base: $100-500
- Lumber and framing materials: $150-400
- Chicken wire and support materials: $75-150
- Fasteners, screws, and hardware: $50-100
Decoration Materials
- Tissue paper (bulk quantities): $200-500
- Paint and supplies: $100-200
- Fabric, felt, and textiles: $100-300
- Specialty materials (foam, cardboard): $75-200
Props and Features
- Three-dimensional element materials: $100-250
- Signage and lettering: $50-150
- Lighting or electrical: $75-200
- Sound system components: $100-300 (optional)

Float building creates collaborative experiences bringing students together around shared goals and creative expression
Cost-Saving Strategies
- Solicit material donations from local businesses
- Reuse framework lumber from previous years
- Organize fundraisers specifically for float budget
- Coordinate with other classes sharing bulk material purchases
- Utilize recycled materials creatively
- Recruit skilled volunteers reducing labor needs
Total float budgets typically range from $500-2000 depending on size, complexity, and material choices. Prioritize spending on structural integrity and high-visibility elements while economizing on hidden components.
Team Organization and Role Assignment
Essential Float Committee Positions
Design and Planning Team
- Creative director overseeing concept development
- Sketch artists creating visual plans
- Engineers ensuring structural feasibility
- Safety coordinator reviewing all construction
- Budget manager tracking expenses
Construction Teams
- Framework crew building base structure
- Prop builders creating three-dimensional elements
- Decoration team applying tissue and finishing
- Sign makers and lettering specialists
- Technical crew handling electrical and sound
Logistics Coordinators
- Materials procurement and storage
- Volunteer scheduling and coordination
- Workspace management and cleanup
- Transportation and vehicle coordination
- Parade day operations management
Clear role definition prevents duplicated effort while ensuring all critical tasks receive attention. Larger projects benefit from daily leads coordinating specific work sessions while overall committee maintains big-picture oversight.

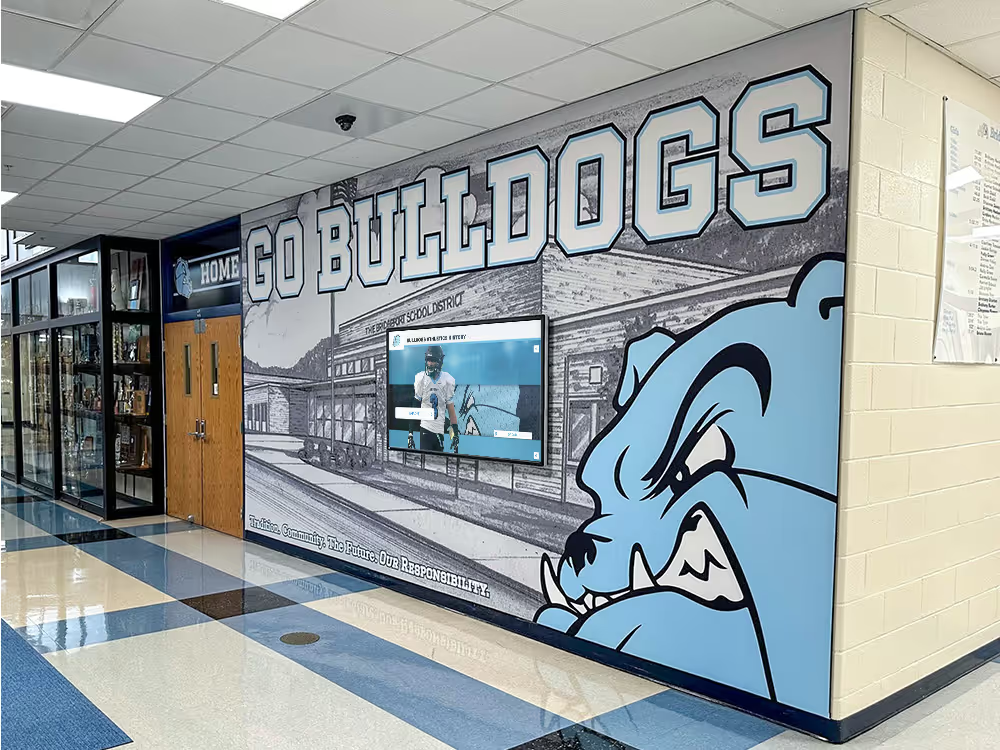
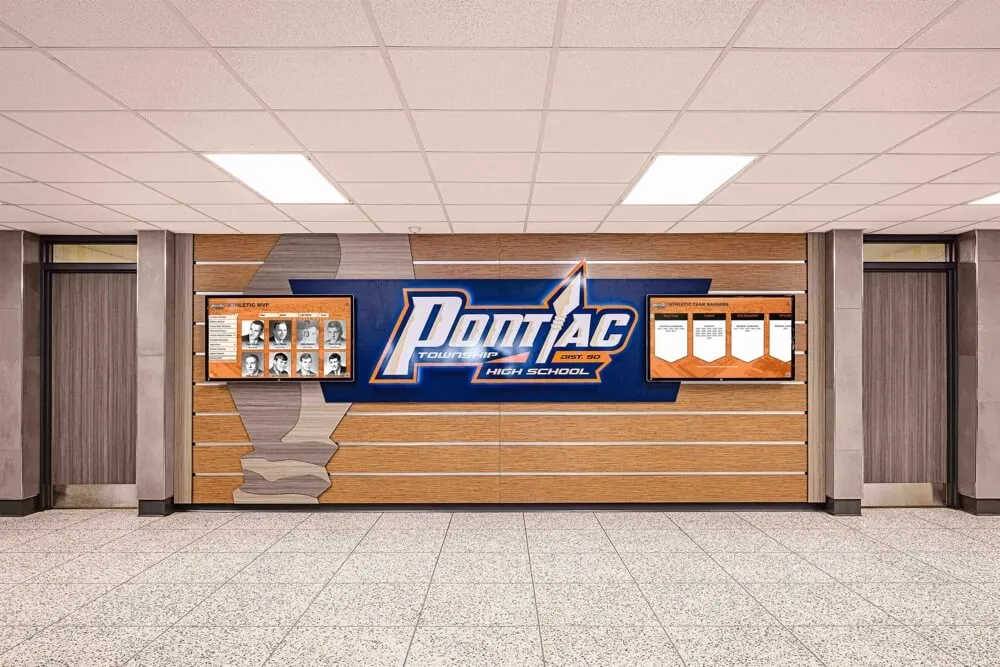
School traditions like homecoming floats complement permanent recognition displays celebrating ongoing institutional pride and achievement
Float Design Principles and Best Practices
Converting creative concepts into buildable float designs requires understanding fundamental principles balancing visual impact with structural reality.
Visual Impact and Parade Viewing Considerations
Design for 360-Degree Viewing Parade spectators view floats from all angles:
- Front presents primary theme statement
- Sides carry visual interest for extended viewing
- Back maintains quality not appearing unfinished
- Top elements visible from second-story windows
- Avoid single-direction designs appearing incomplete from other angles
Height and Vertical Elements Tall elements increase visibility and impact:
- Aim for 8-12 feet total height (including platform)
- Create focal point through vertical emphasis
- Ensure structural stability for tall features
- Consider clearance for power lines and overhangs
- Balance height with base stability
Color and Contrast Strategy Effective color choices enhance visibility:
- School colors provide immediate identification
- High contrast creates visual separation
- Complementary colors add sophistication
- Metallic accents catch light and attention
- Avoid muddy color combinations reducing impact
Movement and Dynamic Elements Motion captures attention:
- Spinning wheels, flags, or banners
- Waving hands or moving parts
- Float riders performing coordinated actions
- Suspended elements swaying with movement
- Wind-activated decorations
Structural Design Fundamentals
Platform Selection and Preparation
Trailer Options
- Flatbed utility trailers (most common)
- Hay wagons for rustic aesthetic
- Truck beds for smaller floats
- Custom-built rolling platforms
- Borrowed trailers from community members
Platform Requirements
- Sturdy deck supporting concentrated weight
- Proper trailer hitch and safety chains
- Working lights and reflectors
- Adequate size for design concept (12-16 feet typical)
- Flat surface enabling stable construction
Framework Construction Principles
Primary Structure Materials
- 2x4 lumber for vertical supports
- 2x3 or 1x3 for horizontal bracing
- Plywood for platform decking
- PVC pipe for curved elements
- Metal angle brackets for reinforcement
Structural Best Practices
- Anchor framework securely to trailer deck
- Create triangulated bracing preventing racking
- Distribute weight evenly across platform
- Design modular sections for transport
- Build low center of gravity preventing tipping
- Test stability before decoration application
Load Calculations Consider accumulated weight:
- Framework lumber: 50-200 pounds
- Chicken wire and base: 25-75 pounds
- Decoration materials: 100-300 pounds
- Props and features: 100-500 pounds
- Riders and people: 150-200 pounds per person
- Safety margin: 25% reserve capacity
Total loaded weight should not exceed trailer capacity with adequate safety margin accounting for parade movement and road conditions.

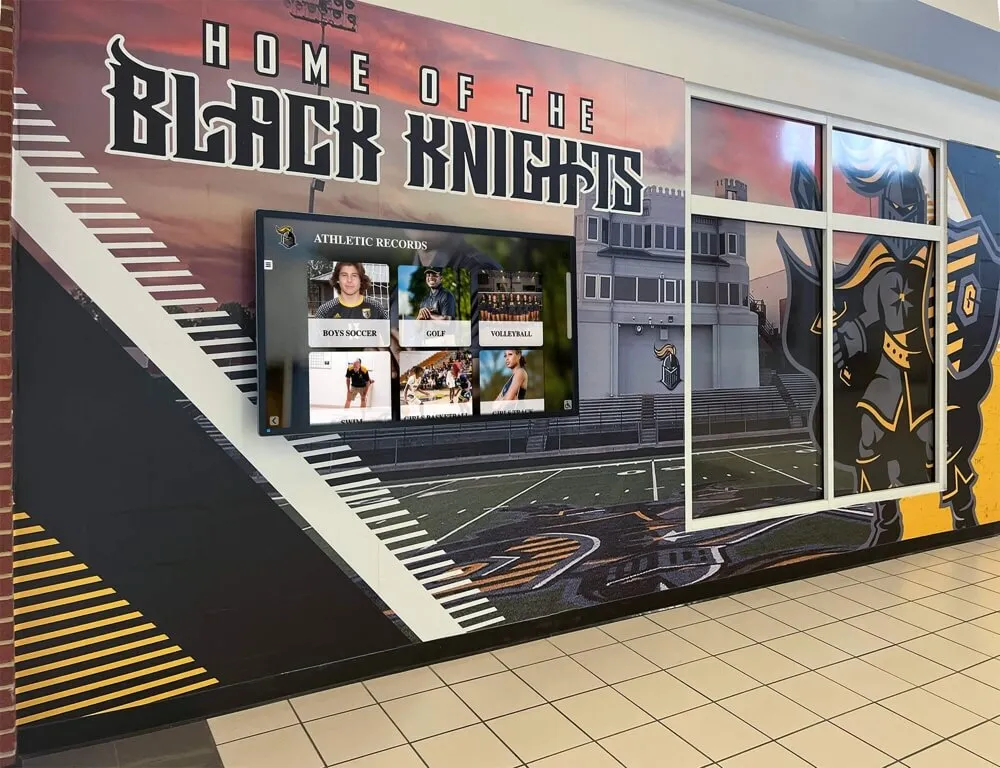
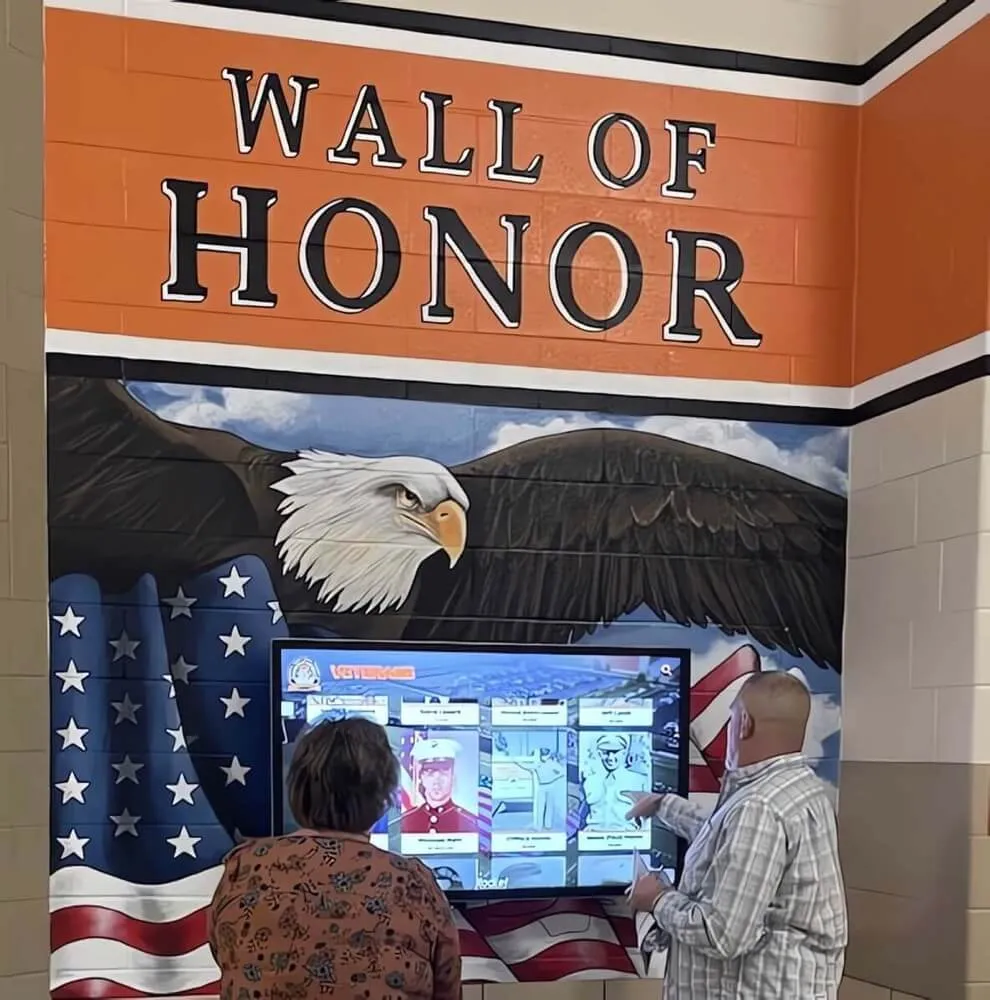
Permanent installations and temporary float projects both celebrate school identity through visual storytelling and community engagement
Essential Materials and Where to Source Them
Float construction requires diverse materials from basic lumber to specialized decorative supplies. Strategic sourcing balances cost, quality, and availability.
Structural Building Materials
Lumber and Framework
- 2x4 studs: Construction yards, home improvement stores
- Plywood sheets: Lumber yards, bulk pricing available
- 1x3 furring strips: Home centers, lightweight framing
- PVC pipe: Plumbing supply, hardware stores
- Cardboard tubes: Carpet stores, packaging suppliers
Fasteners and Hardware
- Wood screws (various lengths): Hardware stores in bulk
- Deck screws (exterior rated): Home improvement centers
- Wire ties and zip ties: Electrical supply, home centers
- Ratchet straps: Hardware stores, auto parts
- Rope and cordage: Hardware stores, marine supply
Base Covering Materials
- Chicken wire (rolls): Farm supply, hardware stores
- Poultry netting (lighter alternative): Agricultural supply
- Burlap or canvas drop cloths: Paint supply, home centers
- Plastic sheeting: Hardware stores, painting supply
- Landscape fabric: Garden centers, home improvement
Decorative Materials and Supplies
Tissue Paper (Primary Decoration)
Tissue paper provides traditional float covering offering vibrant colors, affordable pricing, and straightforward application:
Sourcing Options
- School supply wholesalers: Bulk pricing best value
- Party supply stores: Wide color selection
- Online specialty retailers: Large quantity orders
- Craft stores: Limited quantities, higher cost
- Recycled from gift wrap: Free but limited
Quantities Needed
- Small float (8x12 feet): 30-50 reams
- Medium float (12x16 feet): 60-100 reams
- Large elaborate float: 100-150+ reams
- Budget approximately 1 ream per 2-3 square feet coverage
Color Selection Strategy
- Primary school colors (largest quantities)
- Accent colors for details and shading
- White for highlights and text backgrounds
- Black for outlines and definition
- Metallic for special accents
Alternative Decoration Materials
Crepe Paper Streamers
- Creates textured fringed effects
- Available in wide color range
- Faster application than tissue
- Higher cost per coverage area
- Excellent for accent elements
Paint and Spray Paint
- Latex house paint for large backdrop areas
- Spray paint for quick coverage
- Acrylic craft paint for detailed work
- Primer for cardboard and foam surfaces
- Clear sealant protecting finished elements
Fabric and Textiles
- Felt sheets for clean-edged details
- Bolt fabric for draping and backdrops
- Tablecloths providing quick coverage
- Tulle for texture and volume
- Burlap for rustic themes
Specialty Materials
- Foam board for lightweight signs
- Corrugated cardboard for props
- Balloons for quick volume
- Streamers and garland
- LED string lights for evening parades
Programs planning comprehensive school tradition celebrations often coordinate float materials with broader homecoming week decoration needs achieving bulk purchasing savings.
Tools and Equipment Checklist
Power Tools
- Cordless drill/driver with bit set
- Circular saw or miter saw
- Staple gun (electric or pneumatic)
- Extension cords and power strips
- Work lights for evening sessions
Hand Tools
- Hammers and nail sets
- Screwdrivers (multiple sizes)
- Measuring tapes and levels
- Utility knives and scissors
- Pliers and wire cutters
- Safety glasses and gloves
Decoration Application Tools
- Hot glue guns (multiple units)
- Spray adhesive
- Brushes and paint rollers
- Ladders and step stools
- Drop cloths and tarps
Step-by-Step Float Construction Process
Transform design concepts into finished floats through systematic construction progressing from framework through final decoration.
Phase 1: Platform Preparation and Framework
Step 1: Trailer Setup and Safety Check
- Inspect trailer for structural soundness
- Verify working lights, hitch, and safety chains
- Clean deck surface removing debris
- Mark anchor points for framework attachment
- Level trailer using blocks if constructing off-vehicle
Step 2: Base Decking Installation
- Install plywood decking if needed over open trailer
- Secure decking with screws preventing shifting
- Reinforce high-traffic areas where riders stand
- Create access openings for framework anchoring
- Apply weather protection if outdoor storage
Step 3: Primary Framework Construction
Build vertical supports first:
- Cut 2x4 posts to planned heights
- Position at key structural points
- Anchor securely to trailer deck using brackets and lag screws
- Brace posts temporarily until horizontal supports added
- Verify plumb using level
Add horizontal framework:
- Connect vertical posts with 2x4 or 2x3 horizontal members
- Create grid pattern providing decoration attachment points
- Install diagonal bracing preventing racking
- Build framework for major prop elements
- Test stability with moderate force
Step 4: Specialized Structures
Curved Elements
- Use PVC pipe bent to desired radius
- Support curves with frequent attachment points
- Create compound curves with flexible materials
- Brace curved sections preventing collapse
- Test flexibility and spring-back
Multi-Level Platforms
- Frame elevated sections with adequate support
- Install secure flooring for rider safety
- Create stable access steps or ladders
- Add railings or safety barriers
- Test weight capacity before decoration
Phase 2: Base Covering Application
Chicken Wire Installation
Chicken wire provides three-dimensional shaping and decoration attachment surface:
Application Process
- Unroll chicken wire carefully avoiding injury
- Drape over framework creating desired contours
- Secure to framework with wire ties every 6-12 inches
- Overlap sections by 3-4 inches
- Trim excess with wire cutters
- Fold sharp edges inward for safety
- Stuff with crumpled newspaper for volume

Schools celebrate achievements through various recognition methods from permanent displays to creative float presentations
Alternative Base Coverings
- Cardboard panels: Flat surfaces, easy painting
- Fabric draping: Quick coverage, elegant appearance
- Foam board: Lightweight, accepts paint well
- Plastic sheeting: Weather protection, smooth base
Phase 3: Prop Construction and Installation
Three-Dimensional Feature Building
Large-Scale Props
- Sketch prop dimensions and component parts
- Build internal framework supporting shape
- Cover with chicken wire, cardboard, or foam
- Apply decoration matching finishing technique
- Install securely to float framework
- Test stability during movement
Signage and Lettering
- Create templates for consistent letter sizing
- Cut from foam board or corrugated cardboard
- Paint or cover with tissue before installation
- Mount raised from background for dimension
- Ensure readability from parade viewing distance
- Use school fonts matching institutional branding
Character and Figure Creation
- Build armature from PVC or wood
- Add bulk with crumpled newspaper or foam
- Cover with chicken wire or papier-mâché
- Apply clothing or tissue decoration
- Secure firmly preventing tipping
- Consider articulated elements for movement
Programs creating floats alongside permanent [student recognition displays](https://touchwall.us/blog/academic-honor-roll-recipients-recognition-guide/?utm_source=organic&utm_medium=seo-auto&utm_content=digitalwalloffame&utm_campaign=homecoming-floats-building-guide&utm_term=seo
) develop consistent visual branding spanning temporary and permanent school spirit expressions.
Phase 4: Decoration Application
Traditional Tissue Paper Techniques
Single Tissue Method
- Cut tissue into 4x4 inch squares
- Place blunt end of pencil in tissue center
- Twist tissue around pencil
- Dip tissue bottom in white glue
- Press firmly to chicken wire or base surface
- Remove pencil leaving fluffy tissue rosette
- Repeat in tight pattern until area covered
Layered Tissue Method
- Stack 3-5 sheets of tissue paper
- Cut into squares simultaneously
- Follow single tissue process
- Creates fuller, more dimensional appearance
- Uses more material but increases impact
Tissue Application Best Practices
- Work from top to bottom preventing drips
- Cover framework completely eliminating gaps
- Use darker colors for shading and depth
- Apply lighter colors for highlights
- Create clean color transitions
- Maintain consistent density across float
Alternative Decoration Techniques
Fringe Method
- Cut tissue or crepe paper into strips
- Fringe one edge leaving solid border
- Staple or glue fringe strips to surface in overlapping rows
- Creates textured grass, hair, or fur effects
- Faster application than individual puffs
Pleating and Draping
- Accordion-fold tissue or fabric
- Staple at fold tops creating fan effect
- Layer pleats for dimensional coverage
- Excellent for royal, elegant themes
Paint and Spray Techniques
- Prime surfaces with white or base color
- Apply design using paint or spray paint
- Add details with brushes or stencils
- Seal with clear coat if weather threatens
- Works well for large backdrop areas
Mixed Media Approaches
- Combine tissue, paint, fabric, and specialty materials
- Use each material where it performs best
- Create visual interest through texture variety
- Balance effort with impact for each area

Student achievements shine through both competitive events and creative projects like homecoming float building
Phase 5: Final Details and Finishing Touches
Quality Enhancement Elements
Lighting Integration
- Battery-powered LED strips for undercarriage glow
- String lights outlining major features
- Spotlights illuminating focal points
- Ensure all electrical safely installed and secured
- Test batteries or power supply before parade
- Consider weather protection for connections
Sound System Addition
- Portable Bluetooth speakers synchronized
- Pre-recorded music matching theme
- Microphone for float rider announcements
- Secure equipment preventing damage during movement
- Test volume levels for parade environment
Interactive Elements
- Moving parts activated by riders
- Throw items for crowd (candy, school swag)
- Coordinated rider choreography
- Responsive elements triggered by spectators
- Photo opportunity areas
Safety Features
- Clear rider positions away from edges
- Handholds or railings for rider stability
- Padding on hard framework edges
- Emergency stop communication with driver
- First aid kit secured on float
Safety Protocols and Risk Management
Float construction and parade participation involve inherent risks requiring proactive safety planning and enforcement.
Construction Safety
Workshop Safety Requirements
Personal Protective Equipment
- Safety glasses when cutting or drilling
- Work gloves handling lumber and wire
- Closed-toe shoes at all times
- Dust masks when sanding or spray painting
- Hearing protection for power tool use
Tool Safety Protocols
- Qualified operators only for power tools
- Proper training before equipment use
- Maintained tools in good working condition
- Secure work pieces before cutting
- Extension cords rated for tool amperage
- Adult supervision for all construction sessions
Material Handling Safety
- Proper lifting techniques for heavy items
- Team lift for lumber and plywood
- Organized material storage preventing trips
- Careful chicken wire handling avoiding cuts
- Hot glue gun safety preventing burns
Parade Day Safety
Pre-Parade Safety Inspection
Conduct thorough safety check before departure:
- All structural elements securely attached
- No sharp edges or protruding fasteners
- Rider platforms stable and secure
- Adequate railings or safety barriers
- Float properly secured to trailer
- Vehicle and trailer lights functioning
- Safety chains and hitch verified
Rider Safety Requirements
- Designated positions marked clearly
- Handholds identified and tested
- No sitting on edges or railings
- Brief riders on emergency procedures
- Adult supervision on float during parade
- First aid kit accessible
- Communication method with driver
Movement and Operation Safety
- Designated driver with trailer experience
- Speed limits strictly enforced (typically 5-10 mph)
- Spotter walking alongside during movement
- Clear communication signals established
- Clearance verified for overhead obstacles
- Wide turn radius planned and practiced
- Emergency stop procedures rehearsed
Programs incorporating student athletic programs apply similar safety protocols across all student activities ensuring consistent risk management.

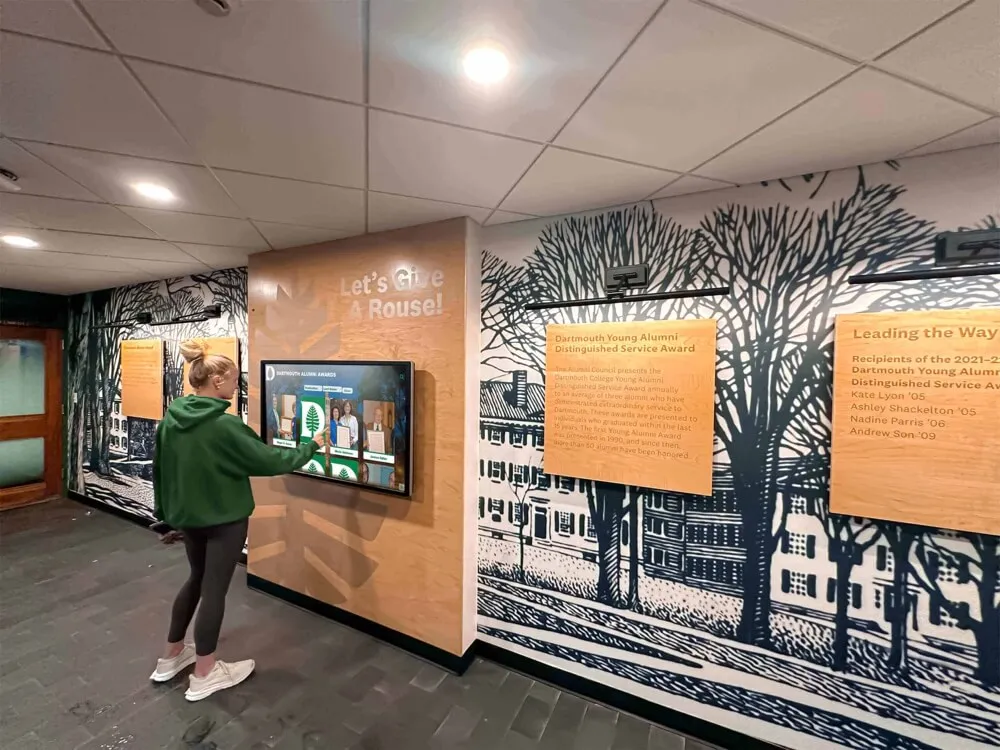
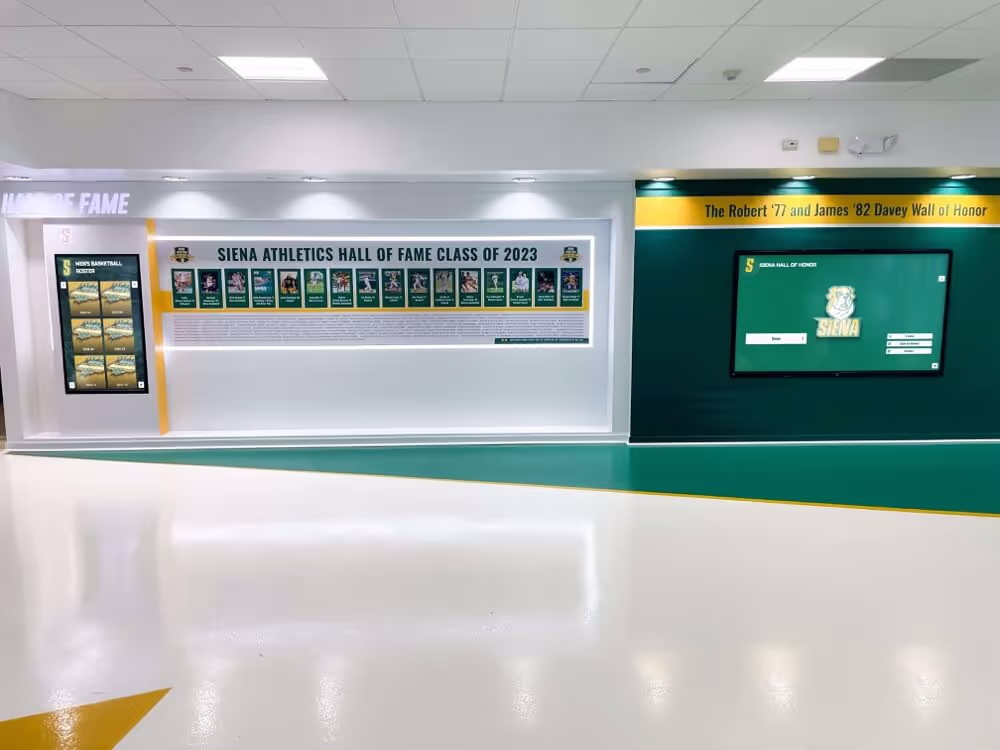
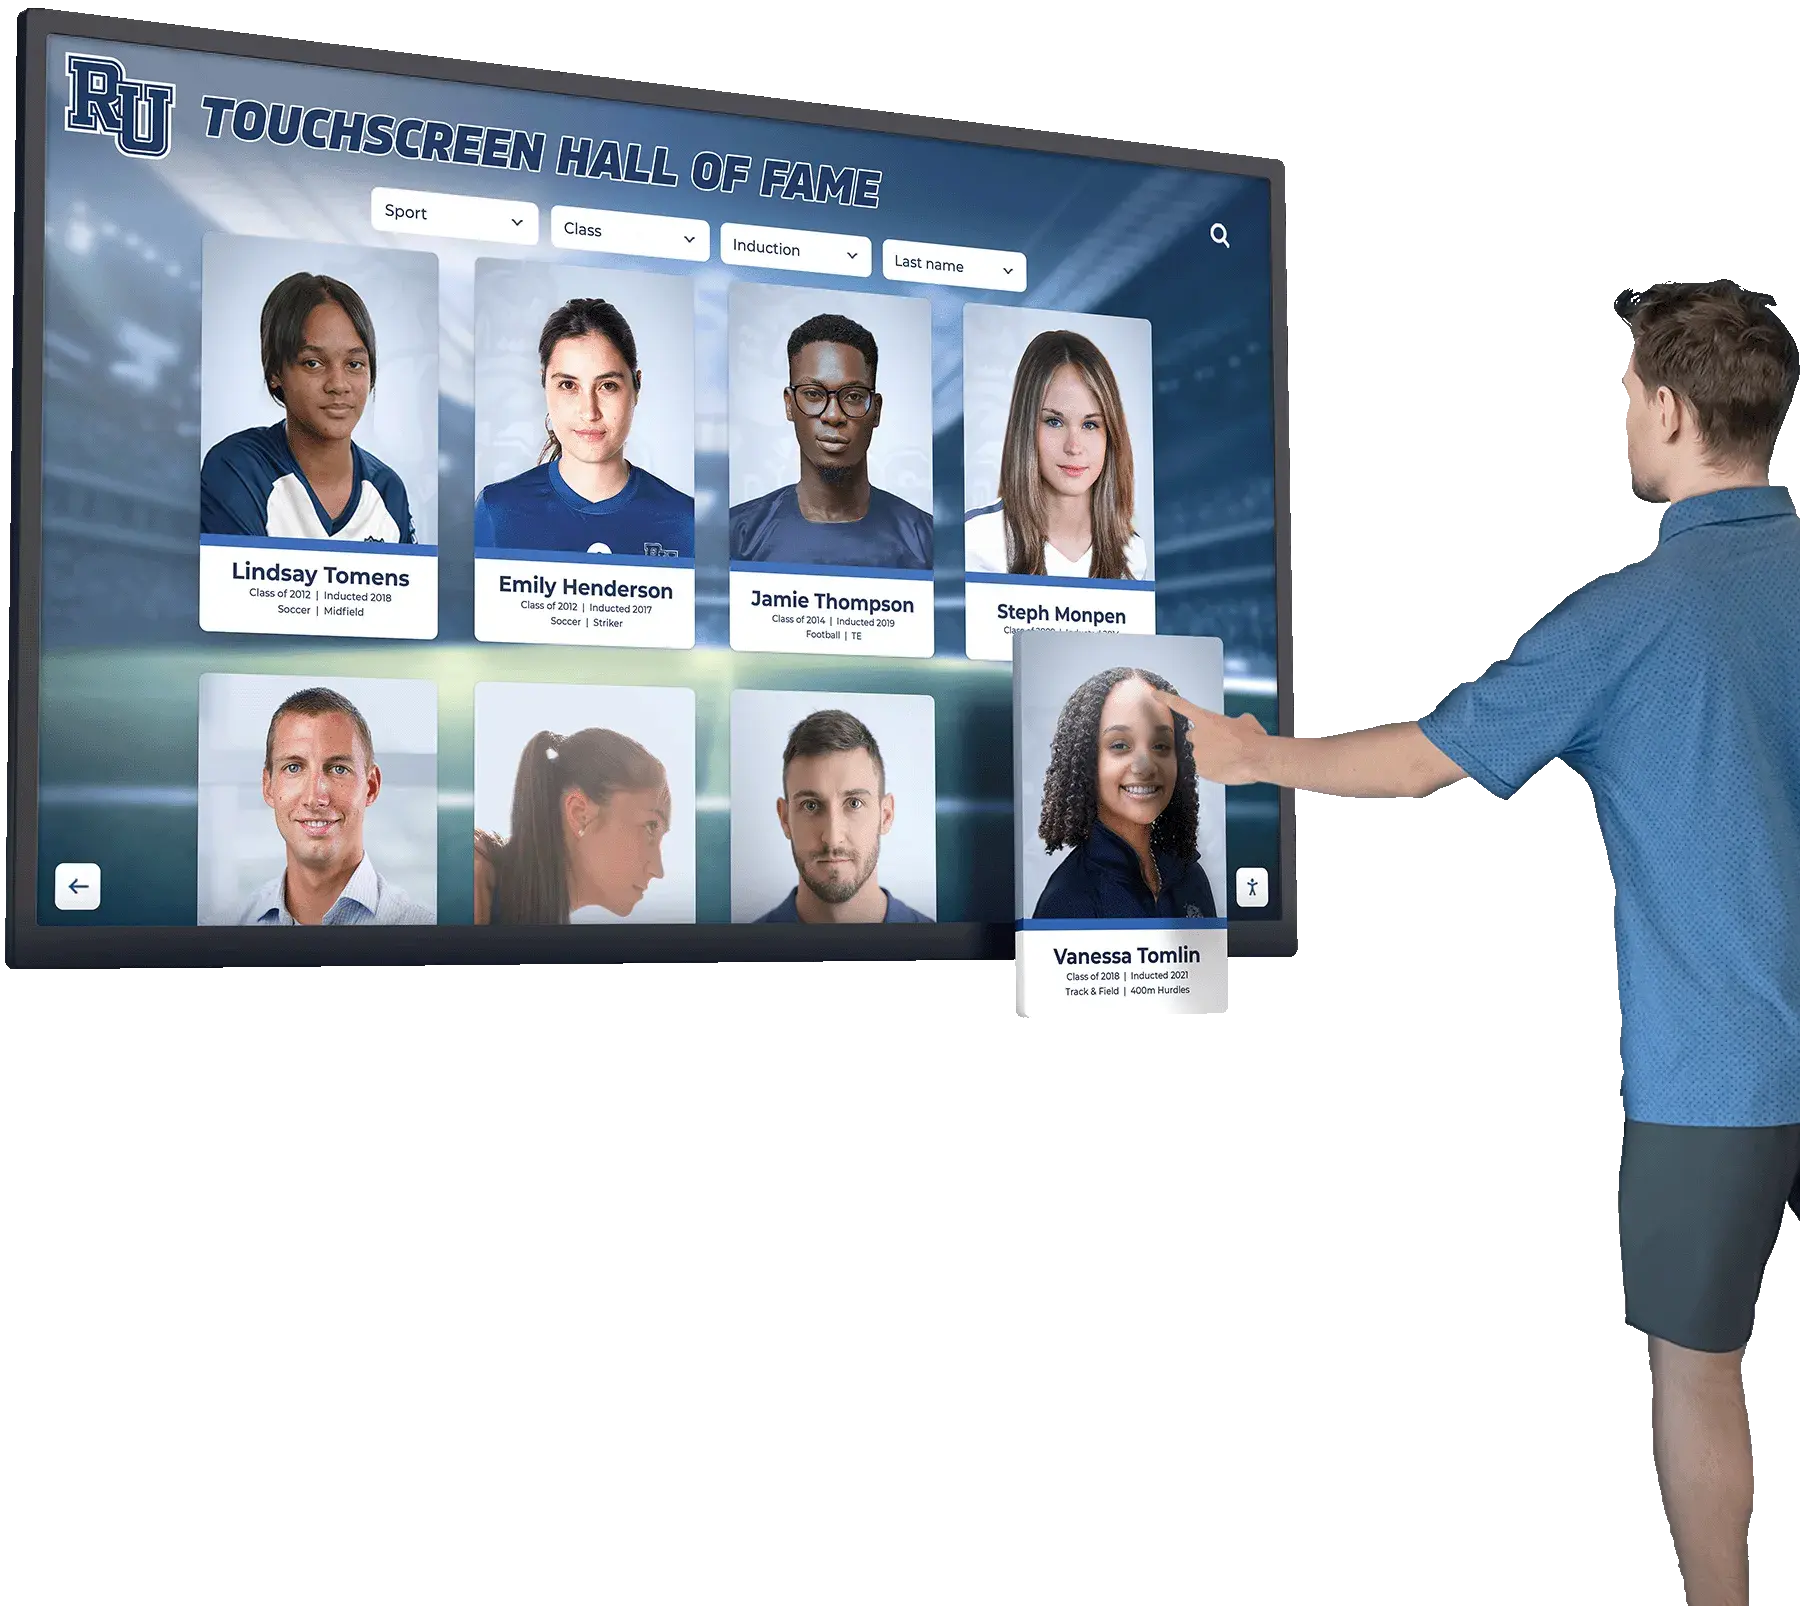
Schools celebrate achievements through both traditional events like homecoming and modern digital recognition systems
Common Float Building Challenges and Solutions
Anticipating typical problems enables proactive solutions preventing last-minute crises.
Structural Issues
Problem: Framework Instability
- Solution: Add diagonal bracing creating triangulated supports
- Solution: Anchor framework more securely to trailer deck
- Solution: Lower center of gravity by reducing height
- Solution: Distribute weight more evenly
Problem: Excessive Weight
- Solution: Substitute lighter materials (PVC for wood, foam for solid props)
- Solution: Reduce number of float riders
- Solution: Create hollow props instead of solid construction
- Solution: Use fabric draping instead of heavy materials
Problem: Transport Clearance Issues
- Solution: Design modular components attaching at parade site
- Solution: Create hinged elements folding for transport
- Solution: Verify route clearances before building
- Solution: Measure maximum dimensions including temporary attachments
Decoration Challenges
Problem: Insufficient Materials
- Solution: Maintain material inventory tracking usage
- Solution: Identify fill-in materials available locally
- Solution: Adjust design reducing coverage areas
- Solution: Coordinate emergency material sharing with other groups
Problem: Weather Damage
- Solution: Store under cover when not working
- Solution: Use weather-resistant materials where possible
- Solution: Apply protective coatings to vulnerable areas
- Solution: Plan repair time before parade
- Solution: Keep emergency repair supplies ready
Problem: Time Management Issues
- Solution: Create realistic timeline with buffer days
- Solution: Increase volunteer recruitment
- Solution: Simplify design reducing labor requirements
- Solution: Organize dedicated work sessions with focused goals
- Solution: Assign accountability for specific deadlines
Coordination Problems
Problem: Volunteer Commitment
- Solution: Clear scheduling with advance notice
- Solution: Assign specific tasks matching skills and interests
- Solution: Provide food and music creating positive atmosphere
- Solution: Recognize contributions publicly
- Solution: Lead by example with consistent leadership presence
Problem: Budget Overruns
- Solution: Track expenses against budget continuously
- Solution: Require approval for purchases over set amount
- Solution: Identify cost-saving substitutions
- Solution: Organize emergency fundraiser if needed
- Solution: Reduce scope maintaining core elements
Problem: Design Disagreements
- Solution: Establish clear decision-making process upfront
- Solution: Vote on major design questions
- Solution: Empower design lead with final authority
- Solution: Focus on shared goals and school pride
- Solution: Compromise finding middle ground
Programs managing complex school recognition programs develop project management skills applicable to float building and other collaborative school initiatives.
Creative Float Ideas by Theme Category
Inspiration from successful float concepts across popular theme categories.
School Pride Themes
Mascot Showcase
- Oversized three-dimensional mascot as focal point
- Mascot in action poses (jumping, celebrating)
- Multiple small mascots creating scene
- Evolution of mascot through school history
- Mascot family including cubs or offspring
Championship Celebration
- Giant trophy or medal replica
- Scoreboard showing winning results
- Athletes in victory poses
- Timeline of championship seasons
- Trophy case recreation displaying achievements
Campus Landmark Recreation
- Iconic building façade or entrance
- Historic landmark known to alumni
- Beloved campus location (fountain, statue, arch)
- Classroom or cafeteria scene
- Athletic facility representation
Competitive and Rivalry Themes
Good-Natured Rival Comparisons
- Visual puns diminishing rival mascot
- Scoreboard predictions
- “Trash talk” clever wordplay
- Comparative superiority demonstrations
- Historical rivalry record celebration
Victory Predictions
- Fortune telling or prophecy theme
- Crystal ball showing victory
- Time machine to future championship
- Superhero defeating villain (rival mascot)
- David versus Goliath interpretation
Pop Culture Recreation Themes
Movie and TV Adaptations
- Iconic scenes recreated with school elements
- Character portrayals by float riders
- Movie poster reproduction at large scale
- Mash-up combining plot with school theme
- Sequel announcement format (“Mascots 2: The Homecoming”)
Music and Concert Themes
- Stage with performing student musicians
- Album cover recreation
- Music festival environment
- Instruments at oversized scale
- Genre-specific visual styling (rock, country, hip-hop)
Video Game Worlds
- Pixelated graphics and characters
- Game controller functional prop
- Level progression visual
- Character selection screen
- Classic arcade cabinet design
Schools coordinating homecoming activities with broader heritage recognition programs create connected celebration experiences honoring tradition and diversity.
Creative Wordplay Themes
Pun-Based Concepts
- School name incorporated into common phrases
- Mascot characteristics creating jokes
- Subject area puns (history, science, math)
- Location or city name wordplay
- Famous quotes adapted with school references
Literary and Book Themes
- Classic literature scenes with school characters
- Book cover enlargement
- Library or reading celebration
- Author biography connection
- Storybook page come to life
Post-Parade Float Management
Responsible float stewardship extends beyond parade conclusion.
Immediate Post-Parade Tasks
Documentation and Photography
- Professional photos from multiple angles
- Candid shots of team with completed float
- Video recording of parade performance
- Rider testimonials and reactions
- Thank you photo opportunities with sponsors
Safe Teardown and Material Recovery
Reusable Material Salvage
- Carefully remove lumber for next year’s framework
- Save unused tissue paper and supplies
- Collect tools and equipment
- Recover specialty props for storage
- Identify materials donatable to other groups
Responsible Disposal
- Separate recyclable materials
- Properly dispose of waste
- Return borrowed or rented items promptly
- Clean trailer before return
- Leave workspace cleaner than found
Recognition and Appreciation
Team Celebration
- Post-parade gathering celebrating accomplishment
- Photo sharing and memory documentation
- Award creative contribution acknowledgments
- Thank volunteer helpers publicly
- Submit parade results to school communications
Donor and Sponsor Recognition
- Thank you notes to material donors
- Public acknowledgment in school communications
- Photos shared with business sponsors
- Include in student achievement celebrations
- Recognition in digital display systems
Documentation for Future Builders
- Design sketches and photos archived
- Material quantities and costs documented
- Construction techniques that worked well
- Challenges encountered and solutions
- Contact information for helpful suppliers
- Pass institutional knowledge to next year’s team
Programs implementing comprehensive recognition programs archive float photos alongside athletic achievements creating complete documentation of school spirit and tradition.
Conclusion: Building More Than Floats
Homecoming float construction creates more than parade centerpieces—these collaborative projects build teamwork skills, problem-solving abilities, and shared memories lasting far beyond parade day. The challenges of translating creative visions into rolling reality teach valuable lessons about planning, resource management, deadline pressure, and collective achievement that serve students throughout academic careers and beyond.
Successful floats balance artistic ambition with practical construction, safety requirements with creative freedom, and budget constraints with visual impact. Whether building simple first-time floats or elaborate multi-level spectacles, the fundamental principles remain constant: thorough planning, solid structural foundation, coordinated teamwork, and attention to detail that ensures your vision arrives intact and impressive at parade time.
Modern schools increasingly recognize that homecoming traditions like float building complement permanent recognition systems celebrating ongoing school pride. While floats represent temporary expressions of spirit rolling through streets for single afternoons, they create lasting memories photographed, shared, and treasured alongside permanent displays documenting institutional achievement and community connection across generations.
Celebrate School Spirit Beyond Homecoming
Complement temporary homecoming celebrations with permanent digital recognition displays that honor students, alumni, and community achievements year-round—creating engaging touchscreen systems that preserve your school's proud traditions and accomplishments for generations to explore and celebrate.
Explore Digital Recognition SolutionsAs you embark on your float building journey, remember you’re creating more than decorated trailers—you’re building team unity, establishing traditions, and crafting tangible expressions of school pride that connect current students with alumni who built floats decades before. Invest time in thoughtful planning, prioritize safety throughout construction, leverage volunteer talents strategically, and create floats worthy of the considerable effort and spirit your team contributes. The parade rolls past in minutes, but the memories, skills, and pride developed through the building process last lifetimes.