


Developing elite pitchers requires more than just throwing harder—it demands systematic attention to softball pitching mechanics that transform raw athletic ability into precise, powerful, repeatable motion. The windmill pitch represents one of the most complex athletic movements in sports, combining explosive lower-body drive, coordinated core rotation, proper arm path sequencing, and precise release timing into a fluid motion that separates dominant pitchers from inconsistent throwers.
Coaches face the challenge of teaching mechanics that feel counterintuitive to young athletes while preventing the ingrained bad habits that limit velocity development and increase injury risk. Unlike baseball’s overhand throwing motion that leverages natural movement patterns, the underhand windmill pitch requires deliberate technical instruction at every stage—from the initial stance through the explosive drive phase to the critical release point where speed and movement converge.
This comprehensive guide provides fastpitch coaches with detailed breakdowns of proper softball pitching mechanics, identification strategies for the most common technical errors that plague developing pitchers, progressive correction approaches that rebuild flawed patterns, and proven velocity-building drills that develop the strength, flexibility, and explosive power championship-caliber pitchers demand.
Effective pitcher development follows systematic progression from fundamental body positioning through increasingly complex full-motion integration, with each mechanical phase mastered before advancing to the next layer of technical refinement.

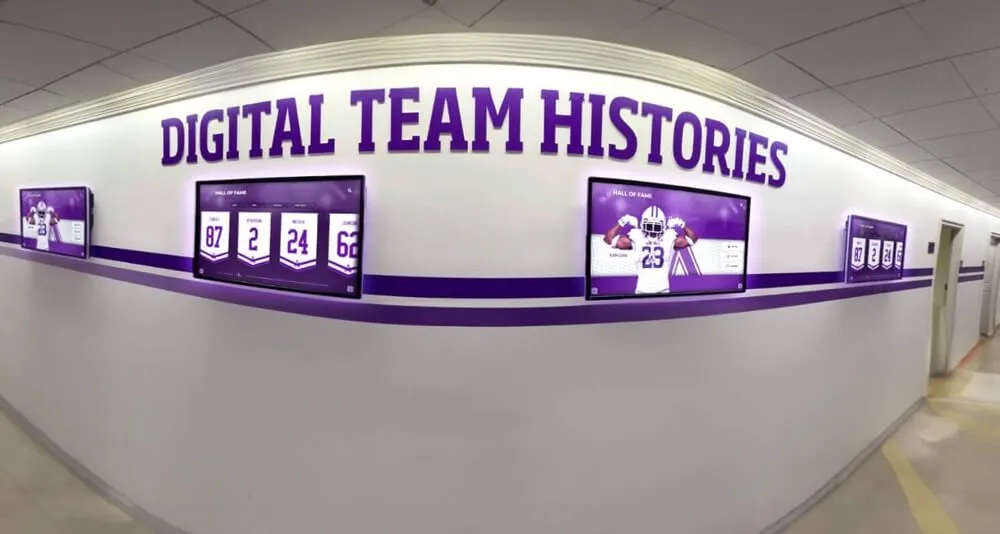
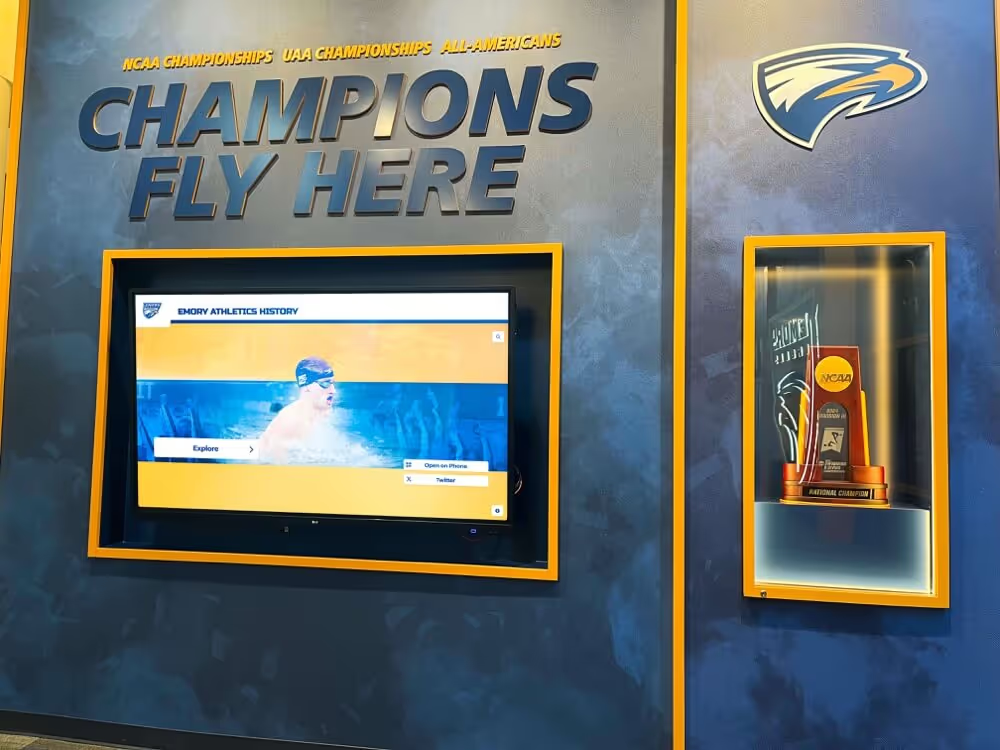
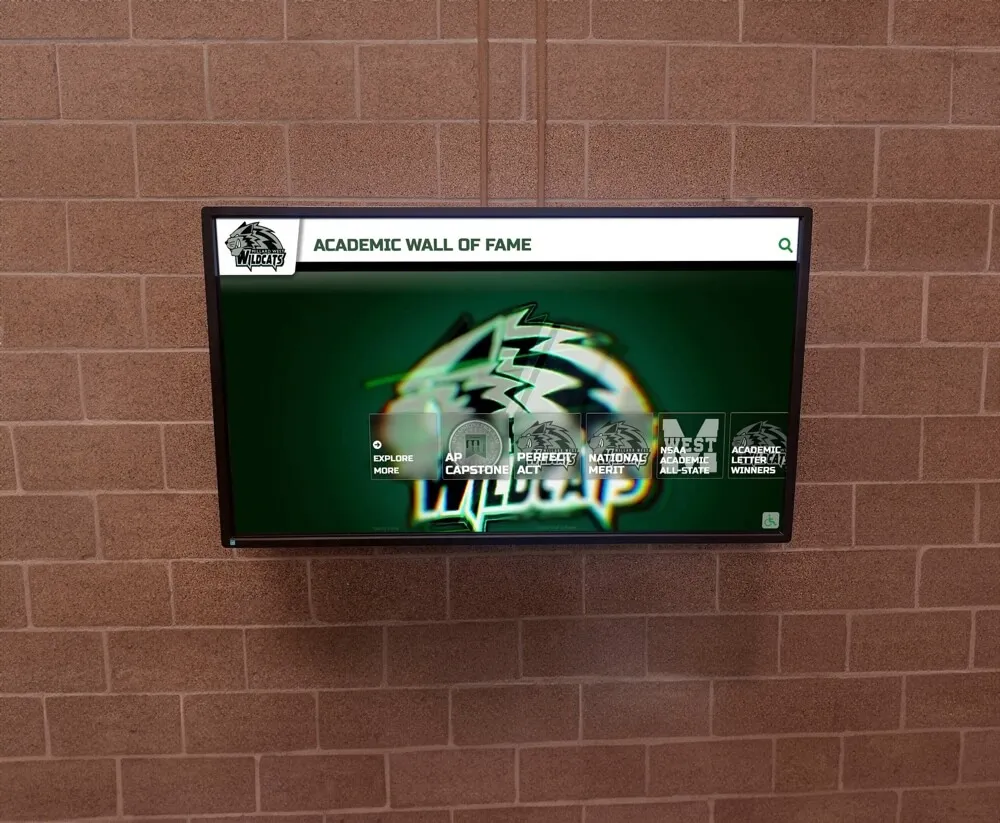
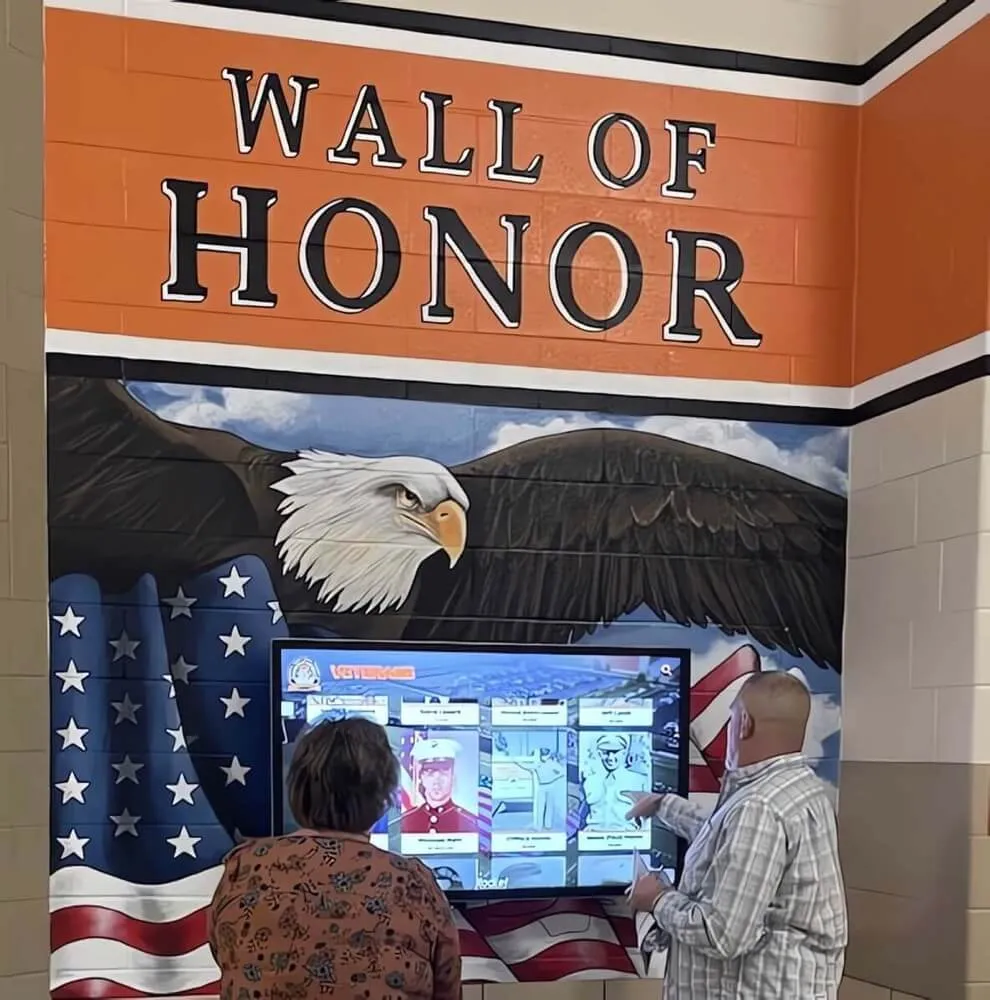
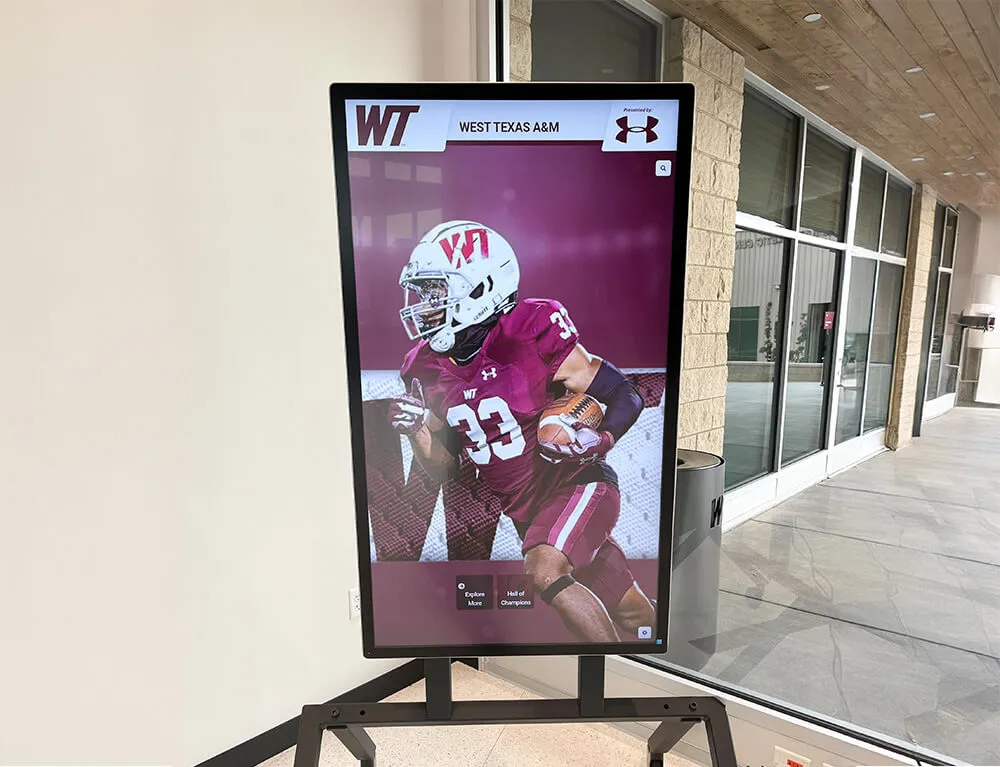
Successful softball programs recognize pitching excellence through comprehensive displays celebrating individual achievements and career statistics
Understanding the Complete Pitching Motion
Before addressing specific mechanical components, coaches must understand the complete windmill pitch as an integrated kinetic chain where each phase builds upon the previous movement.
The Six Phases of Windmill Mechanics
Phase 1: The Stance and Presentation
Proper setup establishes the foundation for everything that follows:
- Feet positioning: Pitcher’s pivot foot contacts rubber with toe pointing toward home plate
- Hip alignment: Hips square to catcher, shoulders level and relaxed
- Ball presentation: Both hands together at waist or chest level showing ball to batter
- Weight distribution: Balanced slightly forward on balls of feet, ready to explode
- Head position: Eyes locked on target, chin level, maintaining balance
The stance phase, while appearing static, actively prepares the body for explosive movement. Tension in shoulders or uneven weight distribution here creates compensations throughout the entire motion.
Phase 2: The Arm Circle Initiation
The windmill begins with coordinated separation and backward rotation:
- Hand separation: Pitching hand extracts ball from glove moving directly backward
- Circle path: Arm travels straight back and up rather than out and around
- Glove positioning: Non-pitching hand moves to consistent tuck position
- Shoulder relaxation: Arm remains loose, avoiding muscular tension
- Timing initiation: Weight shift begins as arm moves backward
Common coaching error: Rushing this phase. The arm circle sets timing for the entire pitch—hurrying here cascades into mechanical breakdowns throughout the motion.
Phase 3: The Drive and Weight Transfer
Lower-body power generation determines velocity ceiling:
Push-Off Mechanics
- Pivot foot rotates and pushes forcefully against rubber
- Drive leg extends explosively, transferring energy forward
- Hips begin rotating toward target
- Core engages to stabilize torso during transition
- Stride leg lifts and begins controlled forward movement
Stride Mechanics
- Stride foot moves directly toward home plate (closed stride)
- Stride length typically 70-80% of pitcher’s height
- Landing foot stays closed (toes pointing toward third base for right-handed pitcher)
- Knee flexion absorbs landing force
- Hip rotation accelerates as foot plants
The power generated here directly translates to ball velocity—weak drive phase mechanics cannot be compensated by arm speed alone.

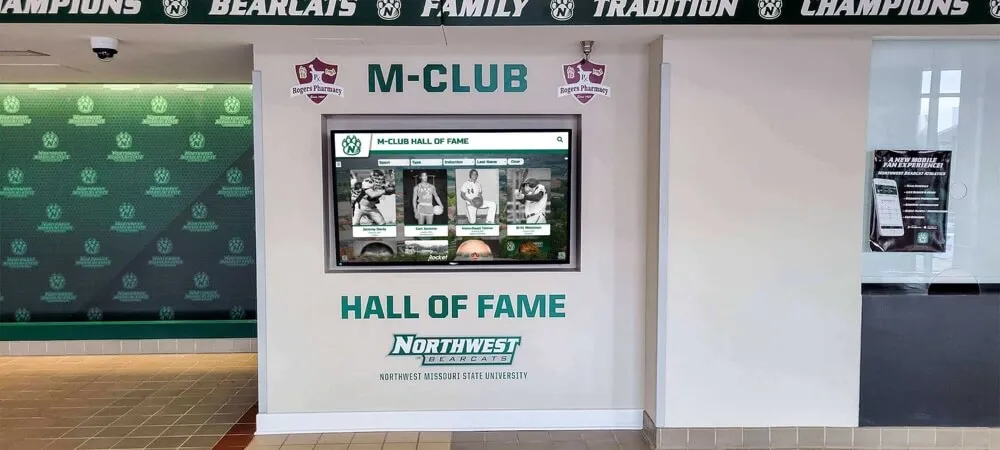
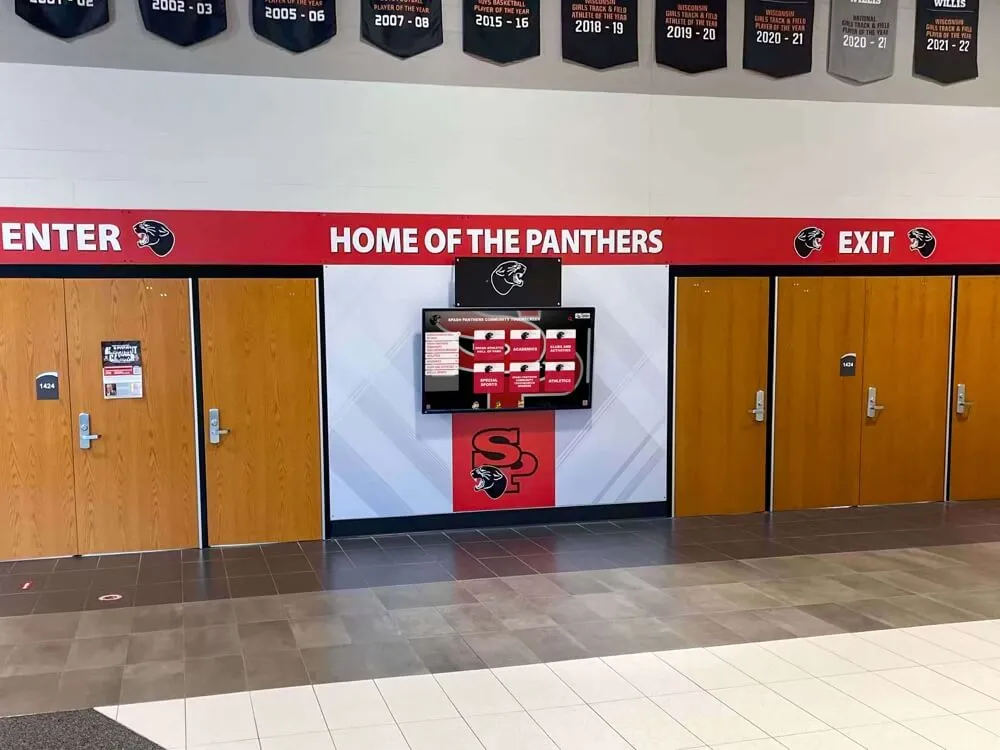
Programs tracking pitcher statistics and career achievements motivate excellence through visible recognition systems
Phase 4: Hip and Torso Rotation
Core rotation amplifies lower-body power:
- Hip explosion: Hips rotate violently toward target after stride foot plants
- Torso lag: Upper body remains closed longer than hips (creating separation)
- Core engagement: Abdominal and oblique muscles fire to accelerate rotation
- Shoulder alignment: Shoulders follow hips in sequential rotation pattern
- Balance maintenance: Despite violent rotation, center of mass remains controlled
Elite pitchers generate significant hip-shoulder separation, storing elastic energy that explosively releases during the acceleration phase.
Phase 5: Arm Acceleration and Whip
The acceleration phase converts stored energy into ball velocity:
- Arm position at top: Arm reaches highest point of circle with elbow straight
- Acceleration initiation: Hip rotation pulls torso, which pulls shoulder, which pulls arm
- Wrist lag: Wrist remains relaxed and lagged behind, creating whip effect
- Elbow positioning: Elbow stays close to body during downswing
- Maximum velocity point: Arm reaches peak speed just before release
The whip action comes from sequential acceleration, not muscular arm force. Coaches who emphasize “throwing hard with the arm” create tension that slows release velocity.
Phase 6: Release and Follow-Through
Precise release timing determines both speed and movement:
- Release point: Ball leaves hand when arm reaches hip level (slightly varies by pitcher)
- Wrist snap: Wrist forcefully snaps forward, imparting final velocity and spin
- Finger pressure: Specific finger positioning creates different pitch movements
- Deceleration: Arm continues through natural deceleration path
- Balance finish: Weight fully transferred to stride leg, pivot foot drags forward
Programs building complete pitcher development track achievements beyond just wins and strikeouts. Schools increasingly recognize statistical excellence through comprehensive athlete tracking systems celebrating career milestones and records.
Common Mechanical Errors and Corrections
Even experienced pitchers develop mechanical flaws that limit velocity and control. Identifying and correcting these issues requires systematic observation and progressive rebuilding.
Lower-Body Mechanical Errors
Error: Leaping Instead of Driving
Many young pitchers leap upward rather than driving forward:
Identification Signs:
- Visible upward jump off rubber
- Both feet airborne simultaneously
- Inconsistent stride length
- Loss of balance during landing
- Reduced velocity despite apparent effort
Correction Approach:
- Kneeling Drills: Pitcher begins on stride-leg knee, focusing purely on upper-body rotation and arm path without lower-body complications
- Push Drill: Standing against wall, practice explosive push without stride to isolate drive mechanics
- Stride Box Drill: Place tape markers for stride landing spot, requiring forward (not upward) movement
- Video Analysis: Show pitcher difference between leap and drive from side view
- Progressive Integration: Gradually rebuild full motion with corrected drive pattern
The leap typically results from focusing on throwing hard rather than driving hard toward the target.

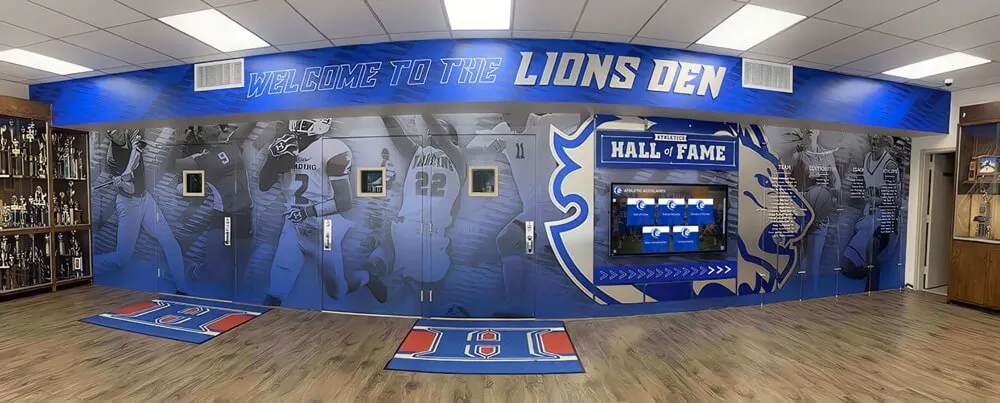
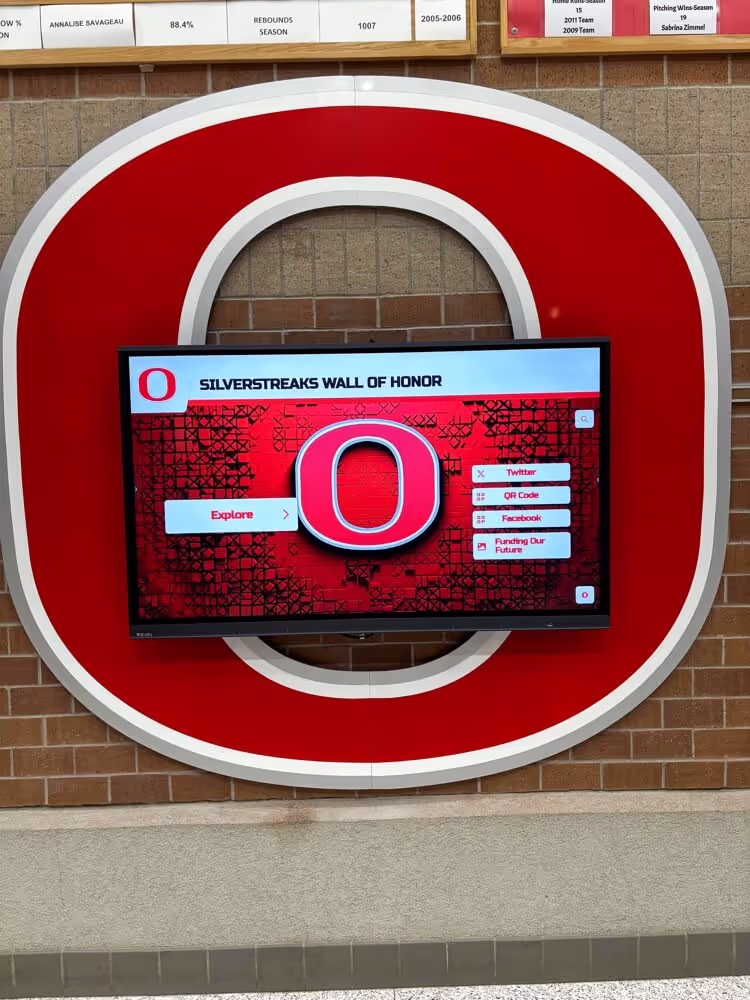
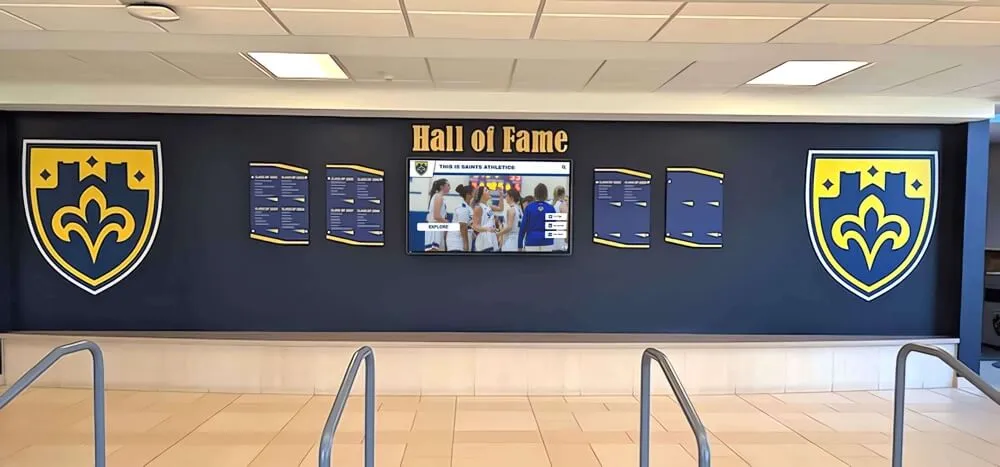
Elite pitchers who define program success deserve permanent recognition celebrating their contributions and achievements
Error: Opening Too Early (Stride Foot)
Opening the stride foot prematurely bleeds rotational power:
Identification Signs:
- Stride foot lands pointing toward first base (right-handed pitcher) or third base (left-handed)
- Hip rotation begins before stride foot plants
- Reduced velocity despite good arm speed
- Inconsistent release point
- Tendency toward high pitches
Correction Approach:
- Closed Stride Lines: Paint line on mound directing proper closed-stride path
- Bucket Drill: Place bucket just inside stride foot landing position requiring closed landing to avoid contact
- Hip Isolation Work: Practice hip rotation from athletic stance without throwing to feel proper sequencing
- Mirror Work: Side-stance position practicing stride landing while watching form in mirror
- Resistance Band Training: Use bands around hips to feel proper closed position during stride
Many pitchers unconsciously open early trying to see the target better—proper technique allows target vision while maintaining closed mechanics.
Upper-Body and Arm Path Errors
Error: Elbow Bend During Circle
Bending the elbow during the arm circle shortens the lever and reduces velocity:
Identification Signs:
- Visible elbow flexion at top of circle
- “Short-arming” appearance
- Reduced leverage and power transfer
- Inconsistent release timing
- Increased stress on shoulder joint
Correction Approach:
- Arm Circle Isolations: Practice slow-motion circles without ball focusing on straight-arm position
- Resistance Tube Circles: Light resistance tube attached to hand during circles reinforces extension
- Wall Circles: Standing close to wall, practice circles that brush wall at all points (requires extension)
- Partner Check: Teammate observes from side, calling out any elbow bend
- Gradual Speed Progression: Master extension at slow speed before increasing circle velocity
Error: Casting (Arm Moving Away From Body)
The arm circle should travel in tight arc close to body, not sweeping wide:
Identification Signs:
- Arm sweeps outward during backswing
- Elbow travels away from torso
- “Pie-throwing” motion appearance
- Reduced control and velocity
- Increased shoulder injury risk
Correction Drills:
Towel Tuck Drill:
- Tuck towel under pitching-side armpit
- Execute full motion keeping towel in place
- Arm must stay tight to body or towel falls
- Provides immediate kinesthetic feedback
- Progress from no ball to full velocity
Flashlight Drill:
- Attach small flashlight to back of pitching hand
- Proper tight circle creates vertical light path
- Casting creates diagonal or curved light pattern
- Visual feedback reinforces correct arm path
- Practice in darkened gym for enhanced visibility

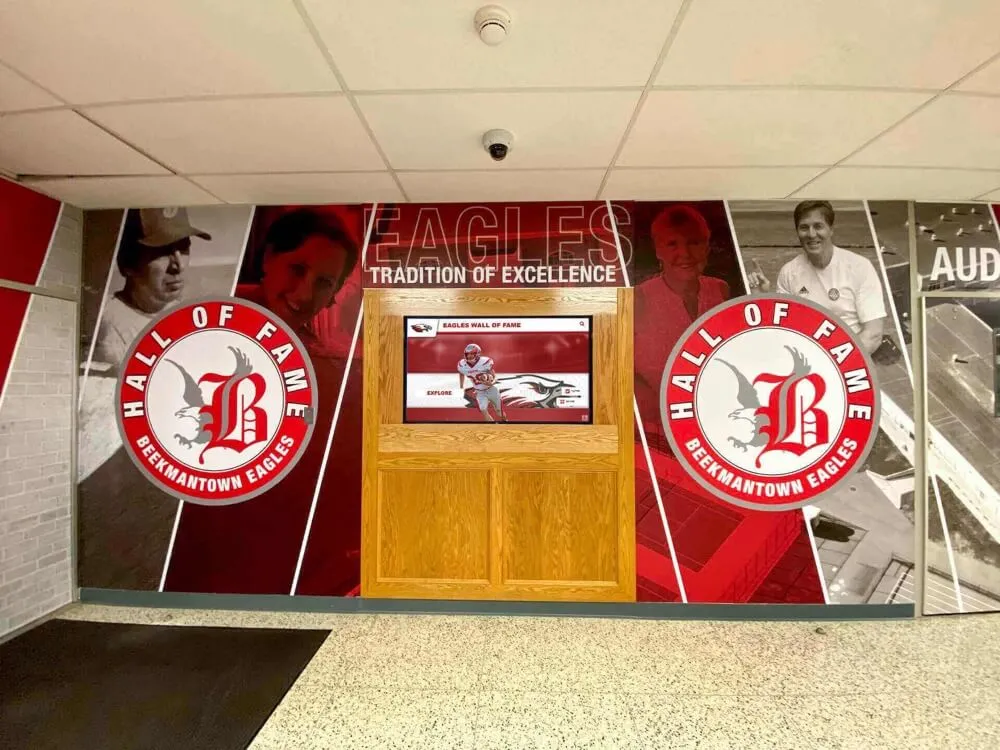
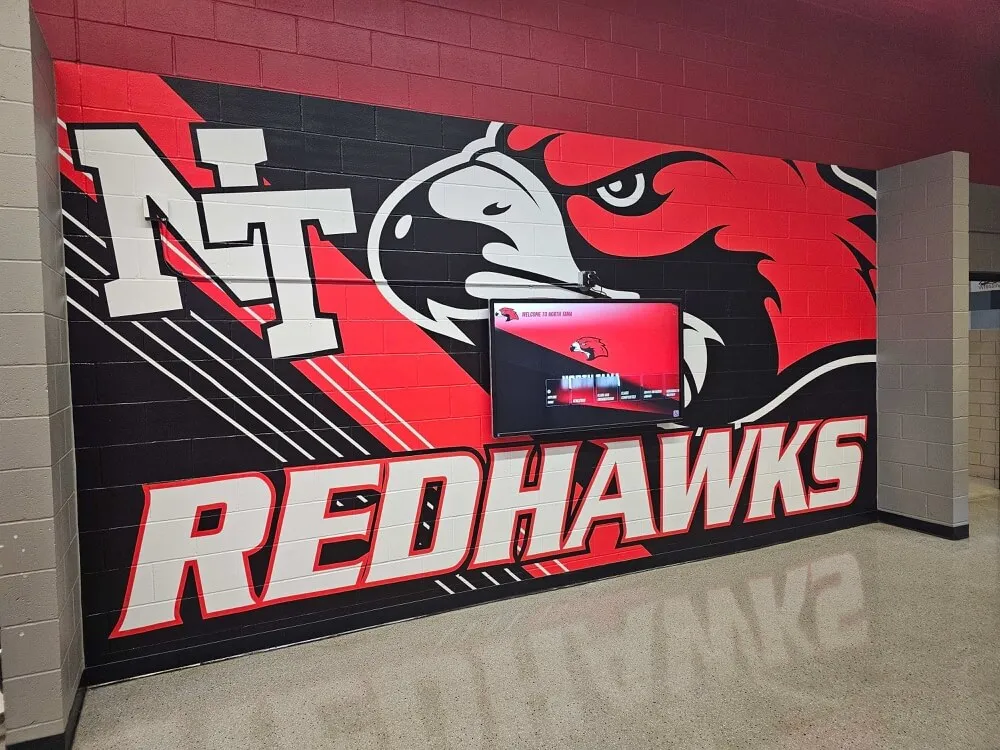
Modern recognition systems showcase pitcher achievements through high-impact displays in prominent facility locations
Error: Rushing the Circle
Many pitchers hurry the arm circle, disrupting timing throughout the motion:
Identification Signs:
- Arm reaches release point before lower body completes drive
- Inconsistent velocity and movement
- Pitches consistently high or sailing
- Appearance of “all arm” throwing
- Early fatigue during games
Correction Strategy:
- Metronome Training: Use metronome to establish consistent circle timing rhythm
- Count Drill: Coach calls cadence (“one-two-three-release”) to regulate tempo
- Video Comparison: Show pitcher timing differences between rushed and proper circles
- Lower Body First: Emphasize initiating movement with legs, not arm
- Trust Development: Help pitcher trust that slower circle generates more (not less) velocity
Rushing often stems from anxiety or competitive pressure—building trust in proper mechanics requires both technical work and mental coaching.
Release and Follow-Through Errors
Error: Late Release
Releasing too late (past the hip) sends pitches into the dirt:
Correction Drills:
- Release Point Tape: Place tape on pitcher’s hip at proper release height
- Net Work: Throw into close net from knees, focusing purely on release timing
- Shadow Pitching: Practice motion without ball, freezing at release point
- Partner Feedback: Catcher provides immediate ball location feedback after each pitch
- Progressive Distance: Start at half distance, gradually moving back as consistency improves
Error: No Wrist Snap
Weak wrist action limits both velocity and spin:
Strengthening and Correction:
- Wrist Flips: Isolated wrist snap drills with ball against wall
- Weighted Ball Training: Use slightly heavier balls (6-7 oz) for resistance training
- Resistance Band Flexion: Strengthen wrist flexors through targeted exercises
- Spin Focus: Emphasize backward rotation on ball during release
- Finger Pressure: Teach specific finger positioning creating proper snap mechanics
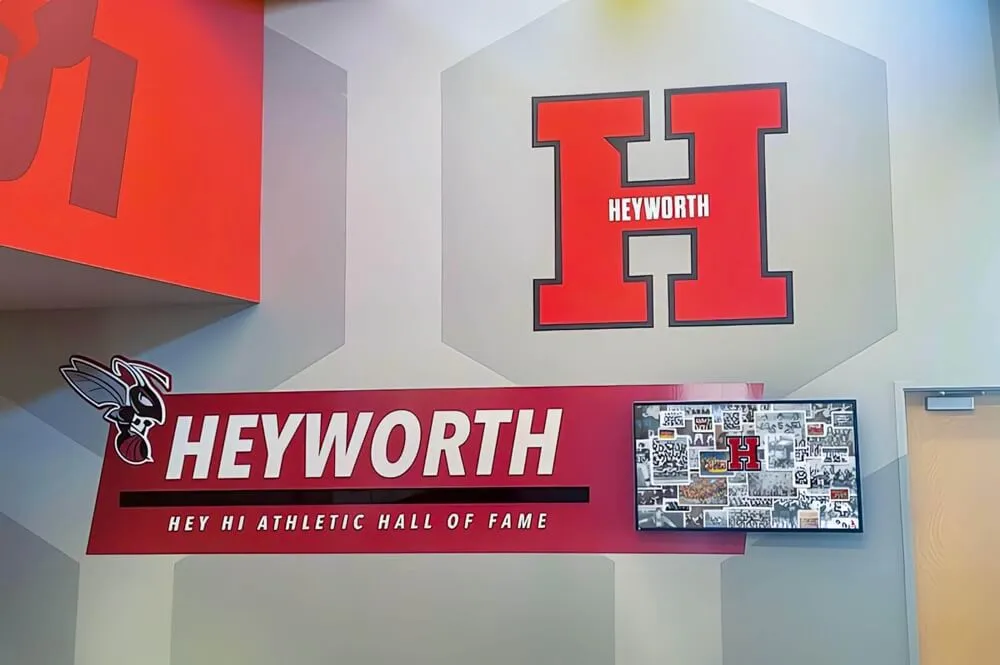
Programs that systematically develop pitchers from youth levels through varsity often track progression through comprehensive recognition displays celebrating skill development milestones across all positions and sports.
Velocity-Building Drill Progressions
Increasing pitch velocity requires systematic development of strength, flexibility, explosiveness, and technical efficiency through progressive drill sequences.
Strength and Power Development
Lower-Body Power Training
Velocity begins with leg drive—targeted strength development increases force generation:
Single-Leg Strength Circuit:
- Bulgarian Split Squats: 3 sets of 8-10 reps per leg (weighted)
- Single-Leg Romanian Deadlifts: 3 sets of 10 reps developing posterior chain
- Lateral Bounds: 3 sets of 10 per side building explosive lateral power
- Box Jumps: 4 sets of 5 reps developing explosive triple extension
- Single-Leg Squats: 3 sets of 6-8 reps per leg (bodyweight or light weight)
Perform 2-3 times weekly during off-season, reduced to 1-2 times during competitive season.
Medicine Ball Explosive Training
Develop rotational power and core strength:
- Scoop Toss: From pitching stance, explosively toss med ball forward mimicking drive phase (4 sets of 6)
- Side Toss: Explosive rotational tosses developing hip and core power (3 sets of 8 per side)
- Overhead Slam: Full arm circle motion slamming ball to ground (3 sets of 10)
- Chest Pass from Pitching Position: Explosive forward passes from stride position (3 sets of 8)
- Partner Tosses: Rapid-fire exchange developing quick-twitch power (3 sets of 30 seconds)
Medicine ball training translates directly to pitching power without pitching-specific stress.

Championship pitchers become cornerstones of program history, their achievements forming the foundation of athletic legacy displays
Flexibility and Mobility Work
Limited flexibility in hips, shoulders, and thoracic spine restricts mechanical efficiency:
Hip Mobility Routine (Daily):
- 90/90 Hip Stretch: 2 minutes per side improving internal/external rotation
- Pigeon Pose: 90 seconds per side opening hip flexors
- Leg Swings: 20 forward/back and lateral per leg dynamic preparation
- Deep Squat Hold: 2-3 minutes developing ankle and hip mobility
- Hip Circles: 10 circles each direction from hands-and-knees position
Shoulder and Thoracic Mobility (Daily):
- Wall Slides: 3 sets of 10 reps improving overhead positioning
- Thoracic Rotations: 15 per side from quadruped position
- Band Pull-Aparts: 3 sets of 15 strengthening posterior shoulder
- Doorway Pec Stretch: 90 seconds per side relieving anterior tightness
- Arm Circles: 20 each direction gradually increasing circle size
Flexibility work proves most effective when performed daily in short sessions rather than lengthy occasional stretching.
Technical Velocity Drills
Long Toss Progression
Build arm strength while reinforcing proper mechanics:
- Week 1-2: Standard distance (30-35 feet), focus on perfect mechanics
- Week 3-4: Extended distance (40-45 feet), maintain mechanical consistency
- Week 5-6: Long distance (50-60 feet), maximum extension and drive
- Week 7-8: Return to standard distance, velocity increase evident
Perform 2-3 times weekly, 20-30 throws per session with gradual warm-up.
Resistance and Overspeed Training
Carefully implemented resistance training develops power:
Resistance Band Pitches:
- Attach resistance band to back of waist
- Resistance increases drive phase intensity
- Perform 10-15 pitches per session
- Follow immediately with 5 unrestricted pitches
- Body adapts to driving harder against resistance
Downhill Pitching:
- Pitch from slightly elevated platform (6-8 inches)
- Gravity assistance creates overspeed conditions
- Nervous system adapts to faster arm speed
- Follow with flat-ground pitching
- Limit to 10 overspeed pitches per session
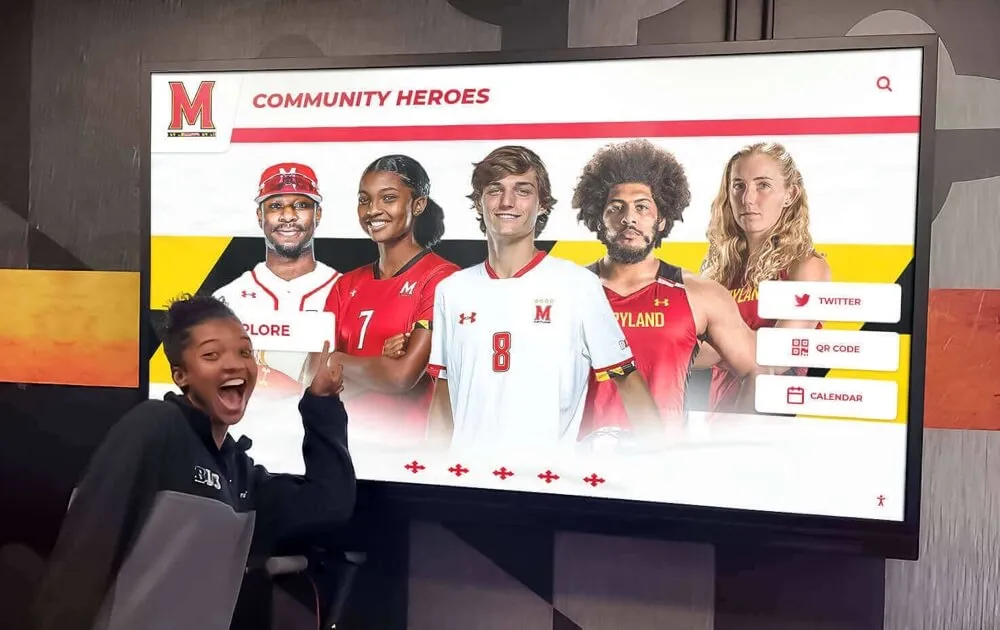
Schools developing elite athletes across multiple sports recognize the value of comprehensive performance tracking that celebrates individual achievement while building competitive team culture.
Pitching-Specific Conditioning
Interval Velocity Work
Build pitch count stamina while maintaining velocity:
Session Structure:
- Set 1: 15 pitches at 75% effort (warm-up)
- Set 2: 10 pitches at 85% effort
- Set 3: 10 pitches at 95% effort
- Set 4: 5 pitches at 100% effort (max velocity)
- Set 5: 10 pitches at 85% effort
- Set 6: 10 pitches at 95% effort
- Set 7: 5 pitches at 100% effort
- Cool-down: 10 pitches at 70% effort
Rest 90 seconds between sets. Perform once weekly during off-season, once every 10-14 days during season.
Simulated Game Situations
Practice maintaining velocity under competitive pressure:
- Pitch to live batters in controlled scrimmage settings
- Track velocity throughout appearance (first inning vs. fifth inning)
- Monitor mechanics during high-stress situations
- Practice between-inning routines maintaining warm, loose arm
- Develop mental routines managing competitive anxiety

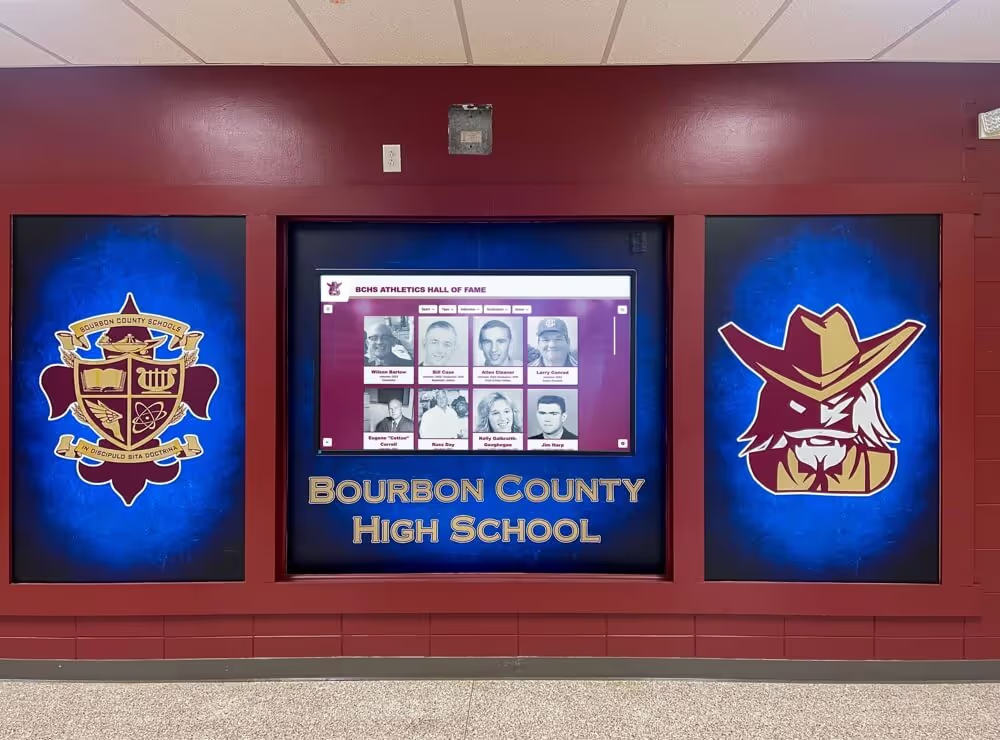
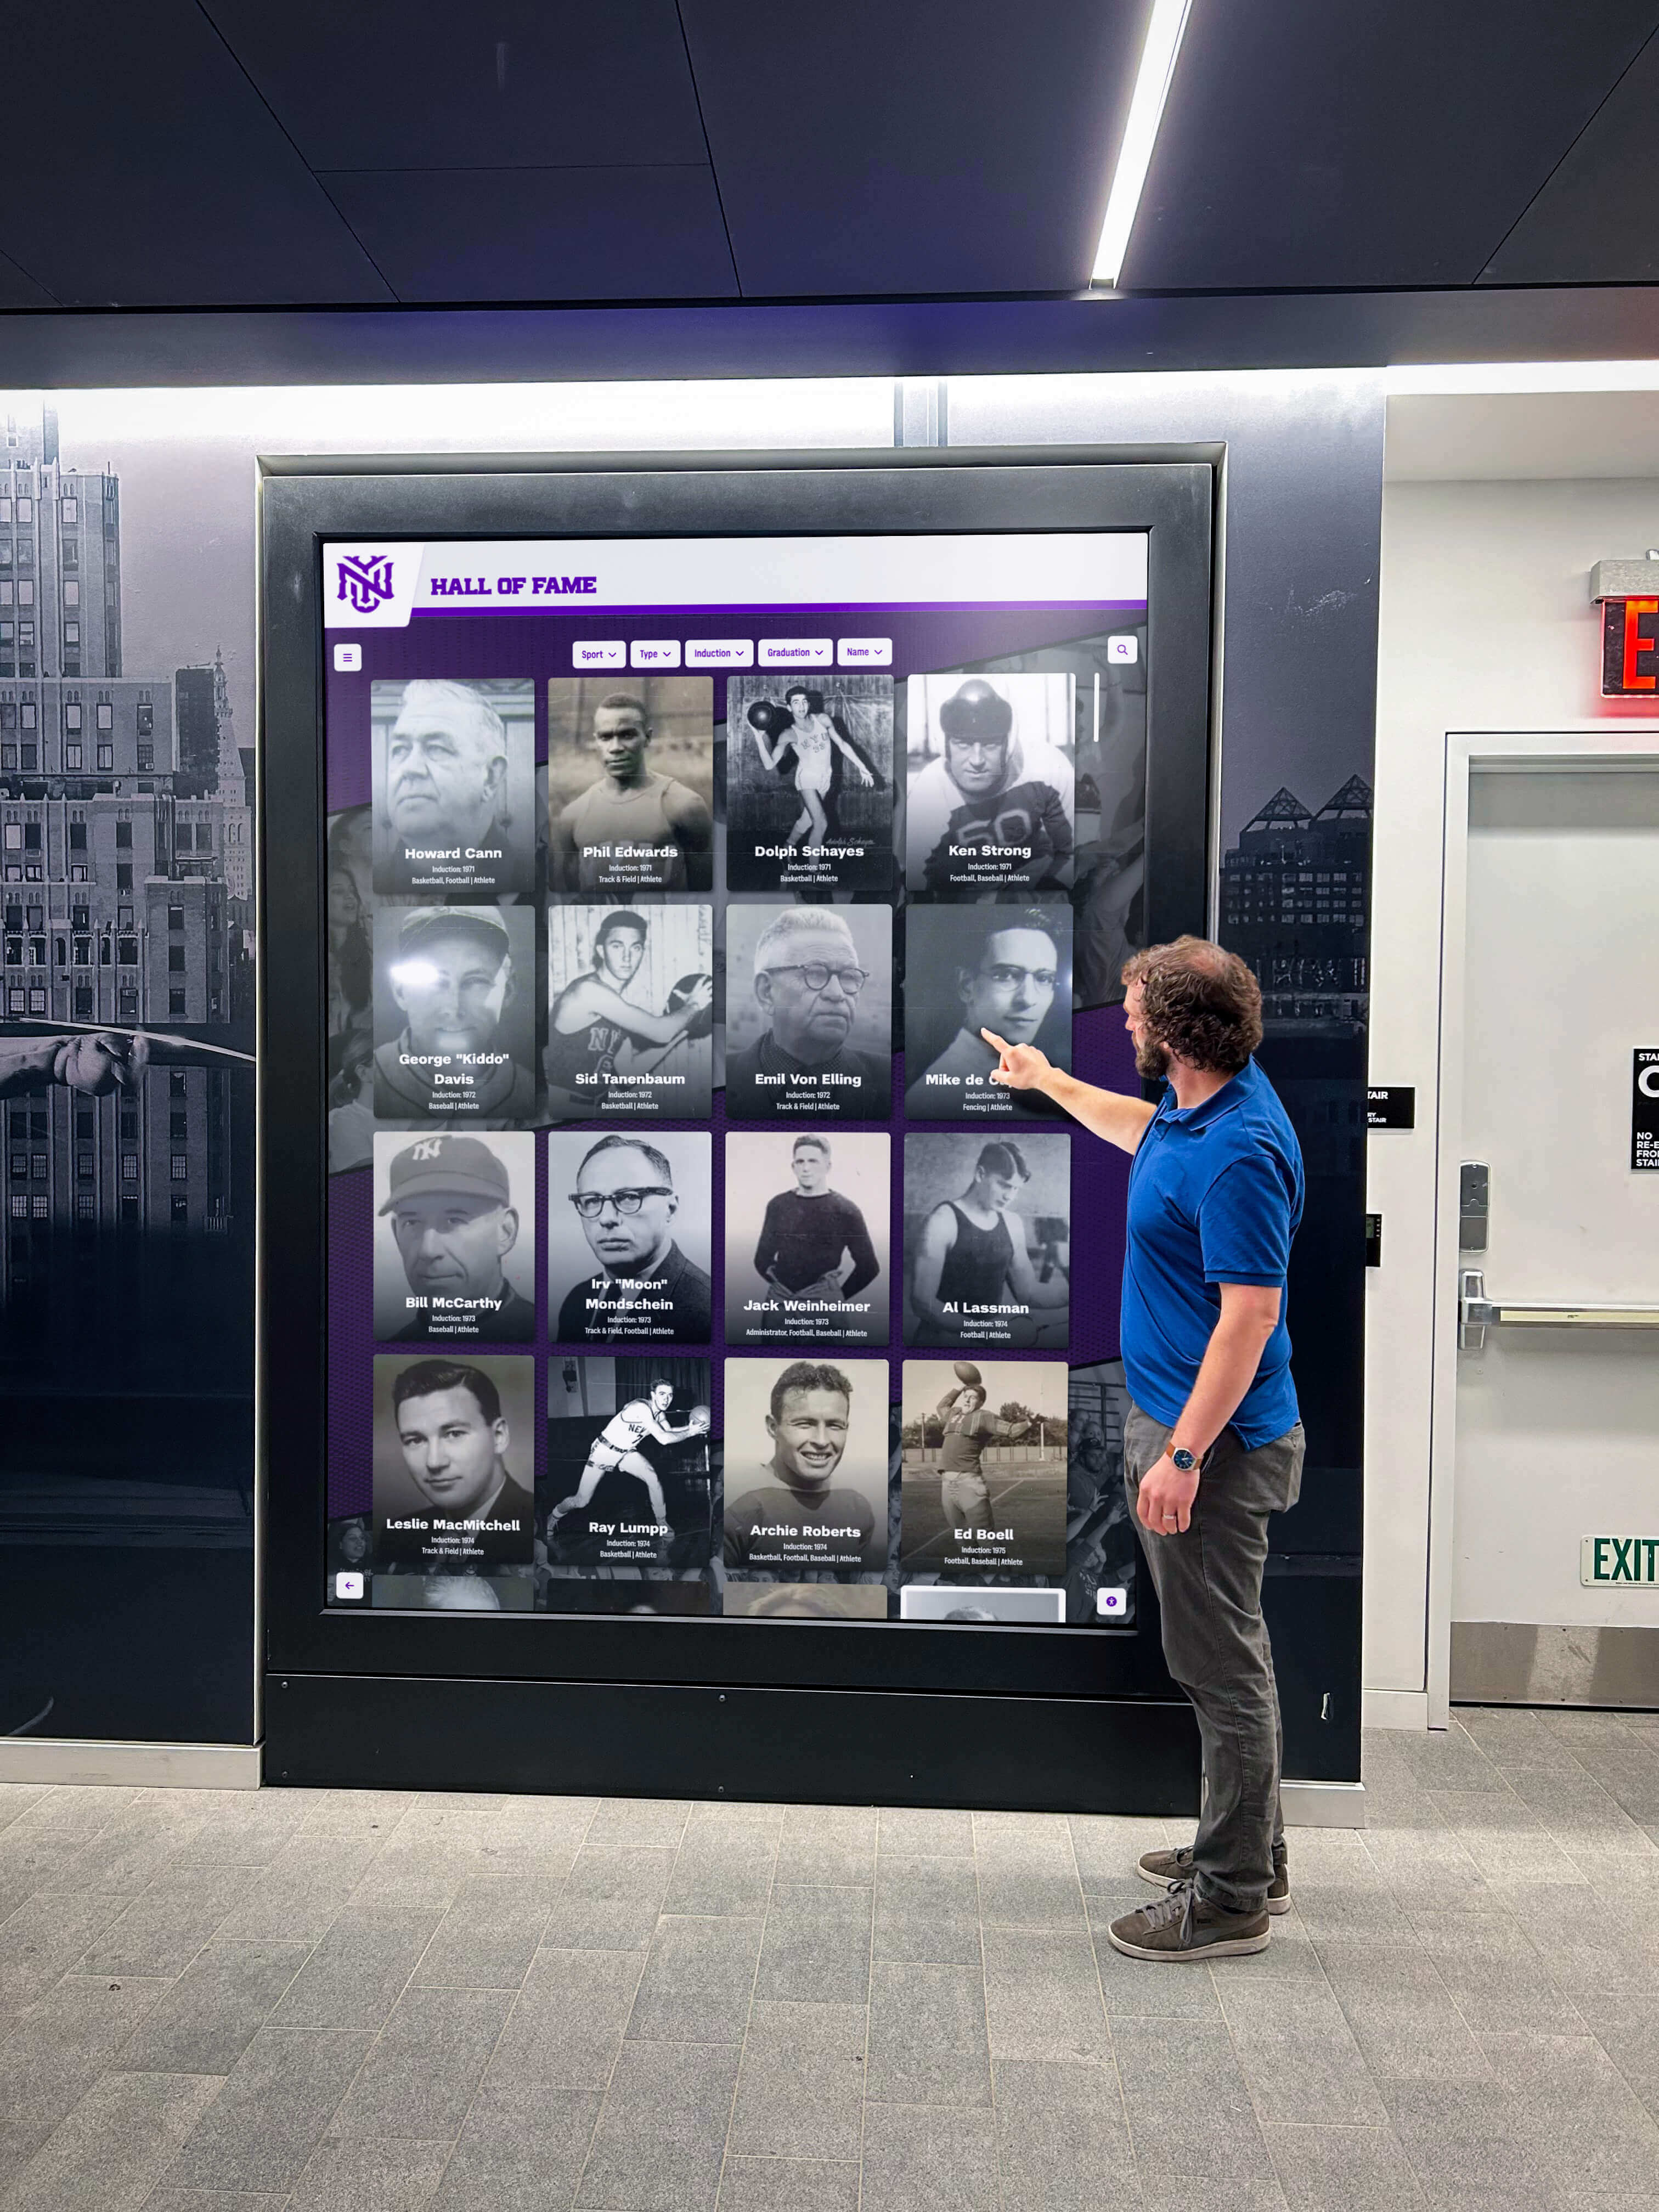
Interactive displays allow visitors to explore complete pitcher statistics, career highlights, and program records
Building Complete Pitcher Development Programs
Velocity and mechanics represent only portions of complete pitcher development—successful programs address mental preparation, pitch repertoire, and game management simultaneously.
Pitch Repertoire Development
Progressive Pitch Introduction
Introduce new pitches only after mastering previous levels:
Beginner Level (Ages 10-12):
- Master fastball mechanics first
- Introduce changeup once fastball is consistent
- Focus exclusively on two pitches with proper mechanics
- Avoid breaking pitches until physical maturity
Intermediate Level (Ages 13-14):
- Refine fastball velocity and location
- Develop reliable changeup with consistent arm speed
- Introduce basic drop ball or rise ball (choose one)
- Begin understanding pitch sequencing concepts
Advanced Level (Ages 15+):
- Expand to 3-4 pitch repertoire
- Master pitch location within zones
- Develop advanced movement pitches (screwball, curve)
- Implement strategic pitch calling and sequencing
Rushing pitch variety before establishing mechanical foundations creates confusion and limits development of any individual pitch.
Mental Game Development
Pre-Pitch Routine Construction
Consistent routines manage pressure and maintain focus:
- Physical Reset: Specific body movements (adjusting glove, touching brim) signaling fresh start
- Breathing Pattern: Controlled breath sequence calming nervous system
- Visual Focus: Specific target identification (catcher’s glove, zone location)
- Mental Cue: Simple word or phrase triggering proper mechanics (“drive,” “loose,” “trust”)
- Commitment: Decisive pitch selection eliminating doubt
Routines lasting 10-15 seconds provide structure without creating rushed execution.
Resilience Training
Softball pitchers face unique pressure—handling adversity determines success:
- Simulation Training: Practice scenarios after giving up hits or walks
- Bounce-Back Drills: Deliberate “bad inning” followed by “shutdown inning” practice
- Positive Self-Talk: Replace negative internal dialogue with constructive focus cues
- Outcome Detachment: Emphasize process (good mechanics) over results (strikes)
- Emotional Regulation: Develop techniques managing frustration and maintaining composure
Programs developing championship-caliber athletes across all sports understand that recognition systems celebrating both individual excellence and team achievements build cultures of sustained success. Learn how schools implement senior sports recognition programs honoring career achievements and contributions.
Injury Prevention and Arm Care
Softball pitchers throw higher volumes than baseball pitchers, making injury prevention protocols essential for long-term health and performance.
Essential Arm Care Routine
Pre-Practice/Game Warm-Up (15-20 minutes):
- Dynamic Stretching: Arm circles, torso rotations, leg swings preparing full body
- Banded Exercises: External rotation, internal rotation, scapular stabilization (2 sets of 15)
- Long Toss Progression: Gradual distance increase and velocity build
- Wrist Strengthening: Flexion/extension exercises with light weight
- Full-Speed Preparation: Final 10-15 pitches at game speed before competition
Post-Practice/Game Recovery (10-15 minutes):
- Active Cool-Down: Light throwing at 50% effort (10 pitches)
- Static Stretching: Shoulder, forearm, and hip stretches held 30-45 seconds
- Ice Protocol: 15-20 minutes ice application to shoulder and elbow (if soreness present)
- Contrast Therapy: Alternating warm/cold for enhanced recovery (optional)
- Hydration and Nutrition: Immediate post-competition refueling
Off-Day Maintenance:
- Light resistance band exercises maintaining shoulder strength
- Foam rolling and self-massage addressing muscular tension
- Mobility work maintaining flexibility gains
- Monitor soreness levels and communicate concerns to coaching staff
Pitch Count and Rest Guidelines
While softball lacks universal pitch count rules, responsible programs implement guidelines:
Youth Level (Ages 10-12):
- Maximum 60-80 pitches per game
- 2-3 games maximum per week
- Minimum 48 hours rest between appearances
- Consider total throws (including warm-ups and bullpens)
High School Level (Ages 14-18):
- Maximum 100-125 pitches per game
- Monitor weekly pitch totals (avoid exceeding 300 per week)
- Minimum 24 hours rest after 75+ pitches
- Minimum 48 hours rest after 100+ pitches
- Complete rest days during heavy tournament schedules
Warning Signs requiring immediate evaluation:
- Pain during or after pitching (not normal muscle fatigue)
- Velocity decrease during game or across multiple appearances
- Mechanical changes or compensation patterns
- Numbness, tingling, or radiating pain
- Persistent soreness lasting beyond normal recovery period
Communication between pitcher, parents, and coaching staff prevents minor issues from becoming serious injuries. Programs prioritizing long-term athlete development over short-term competitive success build trust and create environments where athletes feel comfortable reporting concerns.
Athletic programs balancing competitive excellence with athlete welfare recognize achievements across all participants. Explore how schools implement comprehensive student-athlete recognition systems celebrating diverse contributions and accomplishments.
Video Analysis and Technology Integration
Modern coaching tools provide unprecedented insight into mechanical refinement and performance tracking.
Implementing Effective Video Analysis
Recording Setup for Optimal Analysis:
- Front View: Camera directly behind catcher capturing stride direction, arm path alignment
- Side View: Camera perpendicular to pitcher capturing arm circle, hip rotation, weight transfer
- Release View: Close camera capturing release point and wrist action
- Slow-Motion Capability: 120-240 fps revealing details invisible to naked eye
Analysis Session Structure:
- Establish Baseline: Record multiple pitches at beginning of season creating comparison standard
- Regular Check-Ins: Weekly or bi-weekly recordings tracking mechanical consistency
- Side-by-Side Comparison: Current mechanics compared to baseline or model pitcher
- Focused Review: Address specific mechanical element each session (don’t overwhelm)
- Pitcher Ownership: Allow pitcher to identify differences before coaching input
Video provides objective feedback eliminating “feel vs. real” discrepancies where pitchers perceive mechanics differently than actual execution.
Performance Tracking Metrics
Velocity Development:
- Track average and maximum velocity across season
- Monitor velocity maintenance (first inning vs. fifth inning)
- Identify mechanical changes correlating with velocity increases
- Set realistic progression goals (2-3 mph improvement per year typical)
Pitch Location Accuracy:
- Chart pitch locations by count situations
- Track first-pitch strike percentage
- Monitor location consistency with different pitch types
- Identify patterns (consistently high, pulling glove side, etc.)
Pitch Repertoire Balance:
- Track percentage of each pitch type thrown
- Monitor effectiveness by pitch type (strikes, swings-and-misses, contact quality)
- Identify sequencing patterns that produce desired results
- Develop understanding of pitch selection strategy
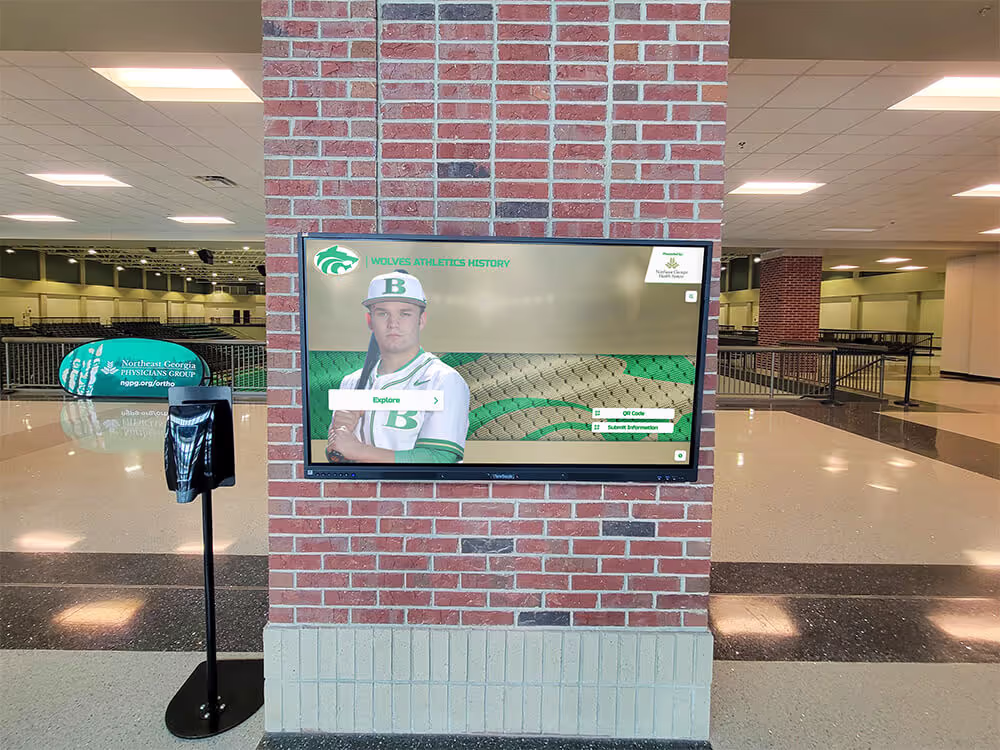
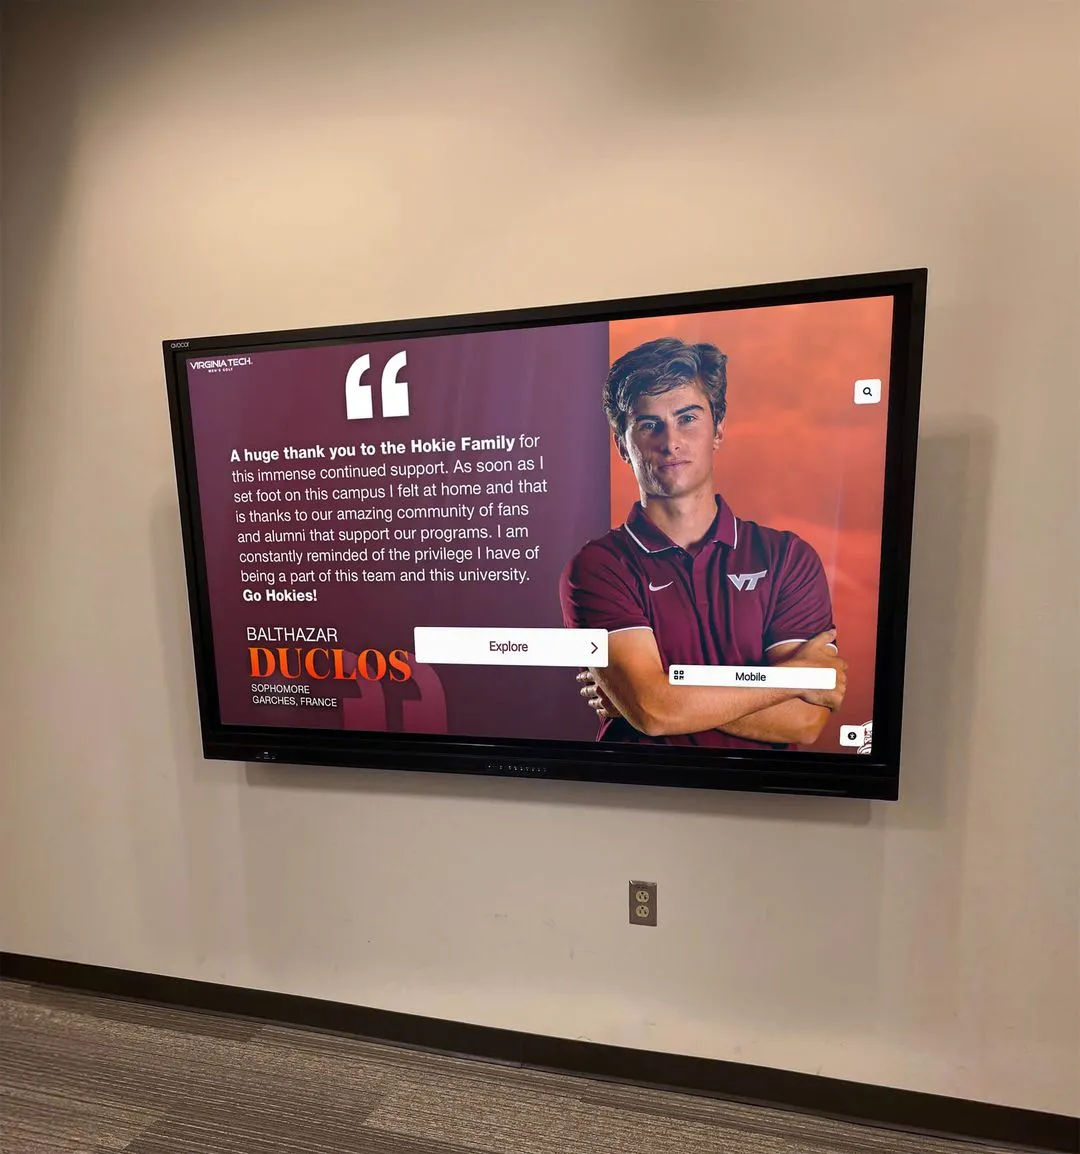
Schools implementing comprehensive tracking systems create data-driven development programs while building rich program histories celebrating pitcher achievements. Modern digital recognition platforms enable schools to showcase statistical excellence alongside traditional honors.
Creating Recognition Systems That Motivate Excellence
Championship programs understand that celebrating pitcher achievements—beyond just wins and losses—builds culture and motivates sustained excellence.
Recognizing Statistical Milestones
Career Achievement Tracking:
Programs tracking and celebrating pitcher milestones create visible goals motivating development:
- Strikeout Milestones: 100, 250, 500 career strikeouts
- Win Milestones: 10, 25, 50 career wins
- Perfect Games and No-Hitters: Permanent recognition of historic performances
- Single-Season Records: Most strikeouts, lowest ERA, most complete games
- Innings Pitched Totals: Recognition of durability and reliability
Development Progress Recognition:
Beyond outcome statistics, recognize developmental achievements:
- Velocity Improvement: Celebrate meaningful velocity gains
- New Pitch Mastery: Acknowledge successful repertoire expansion
- Mechanical Consistency: Recognize sustained technical excellence
- Mental Toughness: Highlight clutch performances and adversity responses
- Leadership Contributions: Value mentoring younger pitchers
Programs that recognize diverse achievements across all positions and all sports create inclusive cultures where every athlete feels valued. Schools increasingly implement interactive digital displays enabling comprehensive recognition beyond limited physical wall space.
Building Program Legacy Through Recognition
Creating Historical Context:
Displaying program history creates pride and establishes performance standards:
- All-Time Records Board: Career and single-season records across all statistical categories
- Year-by-Year Team Statistics: Complete season summaries building program narrative
- Pitcher Profiles: Detailed profiles of program-defining pitchers with statistics and achievements
- Championship Documentation: Tournament runs and championship seasons with key contributors
- Conference and All-State Recognition: External honors validating program excellence
Motivating Current Athletes:
Visible recognition systems showing what’s possible inspire current pitchers:
- Active Pursuit Displays: Show current pitchers’ progress toward records and milestones
- Pathway Visualization: Display progression of pitchers who started as freshmen and developed into stars
- Multi-Sport Athletes: Celebrate pitchers excelling in softball and other sports
- Academic Excellence: Recognize pitchers demonstrating success in classroom alongside competition
- Character Awards: Honor sportsmanship, leadership, and community contribution
Modern recognition technology enables schools to celebrate complete athlete profiles rather than limiting displays to championship teams alone. These comprehensive approaches build cultures valuing diverse paths to excellence and sustained program success across multiple generations.
Conclusion: Developing Championship-Caliber Pitchers
Mastering softball pitching mechanics requires patient, systematic development addressing physical conditioning, technical skill, mental preparation, and complete athlete growth simultaneously. Coaches who understand the intricate details of windmill mechanics, recognize common errors before they become ingrained habits, implement progressive velocity-building training, and create environments celebrating diverse achievements build programs producing dominant pitchers year after year.
The most successful programs recognize that developing elite pitchers extends beyond teaching them to throw hard—it means building complete athletes who handle pressure, overcome adversity, lead teammates, and represent programs with character matching their competitive excellence. By implementing the mechanical principles, correction strategies, training progressions, and recognition systems outlined in this guide, coaches create sustainable development pipelines transforming promising young athletes into the program-defining pitchers who anchor championship teams and build lasting athletic legacies.
Schools and clubs seeking to celebrate their softball excellence and create comprehensive recognition systems showcasing pitcher achievements, program records, and team histories can explore how Rocket Alumni Solutions’ digital touchscreen displays transform athletic recognition. These interactive platforms enable programs to highlight complete pitcher profiles with statistics, career highlights, photos, and achievements while building rich program histories that inspire current athletes and connect with alumni, creating lasting impact that extends far beyond individual seasons.